Adding Parallax Scroll Animations to React

React Scroll Parallax is a React component that enables the creation of scroll effects on scrollable content in React. In a parallax effect, the background moves more slowly than the foreground, giving the impression of depth and immersion. This effect produces a dynamic and captivating user interface; this article will give you all the details.
React Scroll Parallax enables the creation of parallax effects for any element contained in a scrollable container, including pictures, text, or other graphical components. React Scroll Parallax offers several props that can be used to alter the parallax effect, including the element’s speed, direction, and offset. According to the scroll position of the container in which an element is inserted, React Scroll Parallax adjusts the element’s position and transform properties. Using a parallax effect, which gives the appearance of depth and motion by moving the element more slowly than the scroll position, the component creates an illusion of depth.
React Scroll Parallax determines the element’s new position and transform properties based on the current scroll position as the container is scrolled. After applying these characteristics to the element, the component produces the parallax effect. This article will explain how this component enhances your user interface.
The majority of the reviews for React Scroll Parallax come from developer experience:
- Smooth animation: React Scroll Parallax employs smooth animation to create a seamless parallax effect.
- Competitive advantage: React Scroll Parallax will help you stand out from your website or application competition.
- Lightweight: React Scroll Parallax is a lightweight component, which means it doesn’t add much extra weight to your application’s performance.
- Customizable: React Scroll Parallax offers a variety of props that can be used to tailor the parallax effect, enabling you to design a one-of-a-kind and tailored user experience.
Getting Started
In this section, we’ll work with React Scroll Parallax and integrate it into our React project. But before we start, let’s cover the installation process of React Scroll Parallax.
You can easily install React Scroll Parallax using [npm](https://www.npmjs.com/package/react-scroll-parallax) or [yarn](https://yarnpkg.com/package/react-scroll-parallax). The installation process is very simple. The command line for installing React Scroll Parallax is shown below.
npm install react-scroll-parallax

#or

yarn add react-scroll-parallax
Understanding React Scroll Parallax’s attributes
Before writing codes, we must understand the most important React Scroll Parallax’s attributes. These attribute are the props needed to customize the scroll behavior.
Speed
The speed of the parallax effect in React Scroll Parallax is specified by the speed attribute. It is a numerical value that expresses how fast an element moves in relation to how quickly the page is scrolling.
When the speed value is positive, the element scrolls in the same direction as the page; when it is negative, it scrolls in the opposite direction. The more quickly the element moves relative to the page scroll, the higher the absolute value of speed.
-
Translate: The amount and direction of the horizontal and vertical translation applied to a component as the user scrolls through the page are specified by the translate attribute in the React Scroll Parallax framework. The x- and y-axis translations in pixels can be represented by an array of four values for the
translateattribute. The array’s first two values represent the horizontal translation, while its final two represent the vertical translation. -
Scale: In React Scroll Parallax, the scale is used to specify how much scaling will be applied to a component as the user scrolls down the page. The horizontal and vertical scaling factors can be represented by a single value or an array of two values in the
scaleattribute. The x and y axes are both affected when a single value is used. If one is used, the first value in an array represents the horizontal scaling factor, and the second is the vertical scaling factor. -
Rotate: In React Scroll Parallax, the rotate attribute is used to specify how much rotation will be applied to a component as the user scrolls down the page. A single value or an array of two values in the
rotateattribute can represent the horizontal and vertical rotation angles. The x and y axes are both affected when a single value is used. If an array is used, the first value represents the angle of rotation in the horizontal direction, and the second value represents the angle of rotation in the vertical direction. For example, settingrotate: [0, 360]would result in a component being rotated360degrees as the user scrolls down the page. -
Easing: The easing attribute in the React Scroll Parallax library is used to specify the easing function that regulates the component’s acceleration and deceleration as the user scrolls the page. The
easingattribute can either be set to a string containing the name of a built-in easing function or to a developer-defined custom easing function. -
ScrollAxis: In React Scroll Parallax, the scrollAxis is used to specify the scroll axis along which a component will experience the parallax effect. The
scrollAxisattribute can be set to eitherverticalorhorizontalto apply the parallax effect to the component as the user scrolls vertically or horizontally. -
Opacity: When using React Scroll Parallax, the opacity attribute is used to specify how opaque a component should be as the user scrolls down the page. Between 0 and 1, where 1 denotes full opacity, and 0 denotes complete transparency, the
opacityattribute can be set to a value.
Exploring React Scroll Parallax’s features
It’s time to examine React Scroll Parallax’s features now that we better understand its key characteristics. All the variables we discussed earlier are present in the features we’ll explore. As we continue to code, I still have hope that there will be additional attributes. Let’s prepare our hands for some coding.
But first, let’s talk about the significance of the ParallaxProvider component before employing React Rcroll Parallax’s scrolling capabilities. The features we wish to apply won’t function without using the ParallaxProvider component to wrap your App.js component in the index.js file. As a result, it would be greatly appreciated if you could wrap your App.js component within the index.js file with the ParallaxProvider to allow the React Rcroll Parallax animation:
import React from "react";
import ReactDOM from "react-dom/client";
import "./index.css";
import App from "./App";
import reportWebVitals from "./reportWebVitals";
import { ParallaxProvider } from "react-scroll-parallax";

const root = ReactDOM.createRoot(document.getElementById("root"));

root.render(
  <React.StrictMode>
    <ParallaxProvider>
      <App />
    </ParallaxProvider>
  </React.StrictMode>
);
reportWebVitals();
Scroll Effects
We’ll be working with Scroll effects in this section. These effects, which include Rotation and Scale effects, are employed to create cool animation. Utilizing each element of the rotation and scale effects, we will investigate them.
Rotation In this section, we’ll use React Scroll Parallax to make a rotated scrolling animation. It’s awesome to use this scrolling effect. Simply import the useParallax hook from the React Scroll component. Scroll Parallax
import { useParallax } from "react-scroll-parallax";After importation, you simply need to utilize the rotate attribute in the useParallax hook:
const parallax = useParallax({
  rotate: [0, 360],
});
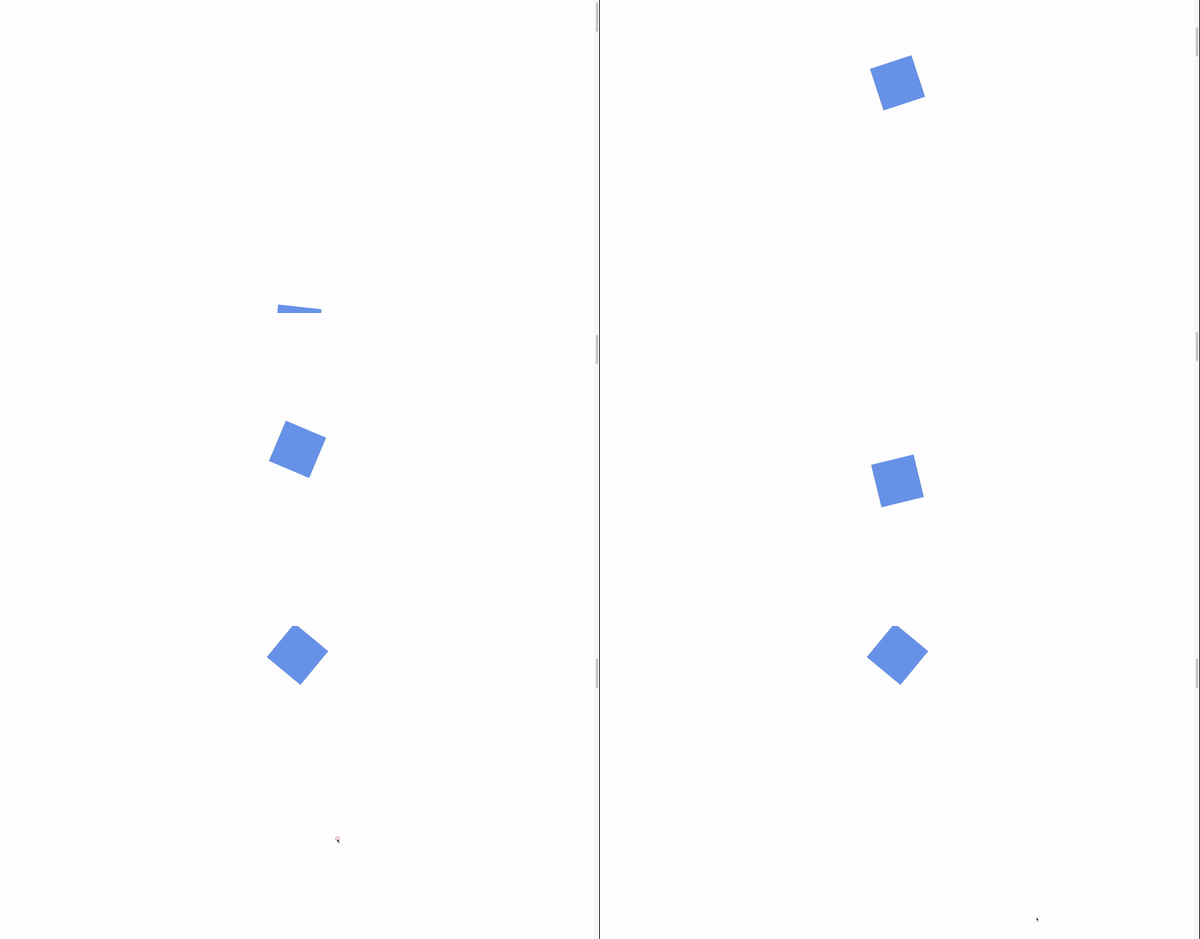
The rotate’s value is just an array. While the first parameter starts at 0 degrees, the second index simply instructs the object to rotate in a 360-degree circle. And this effect occurred while scrolling down the page. The following is the rotate animation’s fill code:
import "./App.css";
import { useParallax } from "react-scroll-parallax";
const App = () => {
  const parallax = useParallax({
    rotate: [0, 360],
  });

  return (
    <div className="container-body">
      <div ref={parallax.ref} className="spinner"></div>
    </div>
  );
};
export default App;
Basic css:
.container-body {
  height: 9000px;
}
.spinner {
  width: 140px;
  height: 140px;
  background-color: cornflowerblue;
  margin: auto;
  margin-top: 55%;
}
Output:
Around the y-axis
Use the rotateY property to rotate the object around the y-axis. Please use the code provided below:
import "./App.css";
import { useParallax } from "react-scroll-parallax";
const App = () => {
  const parallax = useParallax({
    rotateY: [0, 360],
  });
  return (
    <div className="container-body">
      <div ref={parallax.ref} className="spinner">
        <div>H</div>
        <div>E</div>
        <div>L</div>
        <div>L</div>
        <div>0</div>
      </div>
    </div>
  );
};
export default App;
CSS:
.container-body {
  height: 9000px;
}
.spinner {
  display: flex;
  align-items: center;
  justify-content: center;
  margin-top: 55%;
}
.spinner div {
  width: 100px;
  height: 100px;
  background-color: hotpink;
  margin: 10px;
  display: flex;
  align-items: center;
  justify-content: center;
  font-size: 40px;
  color: white;
}
Output:

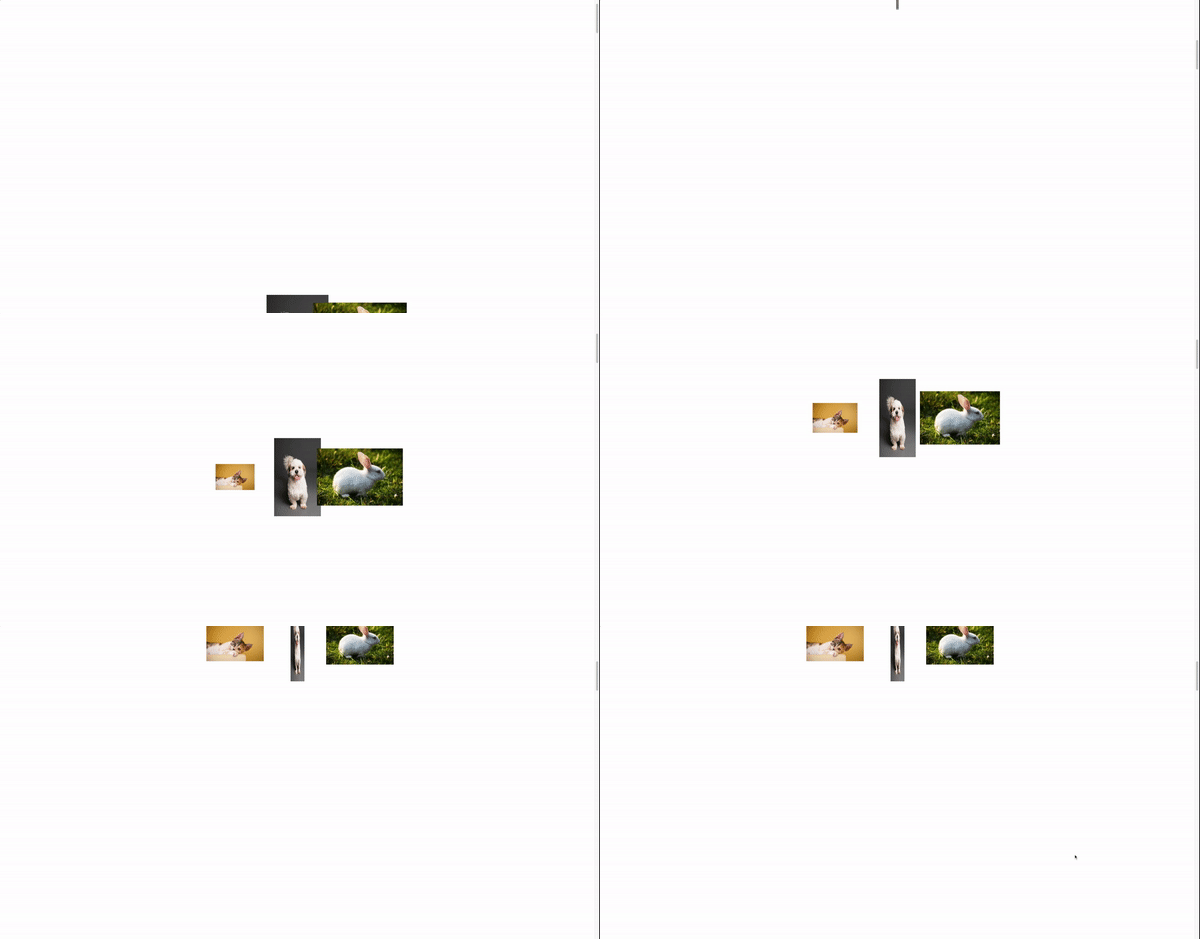
Scale Scaling is made simpler with React Scroll Parallax. An element can be scaled along or within any axis of your choosing. You need only use the scale property to make use of the scale effect.
Code:
import "./App.css";
import { useParallax } from "react-scroll-parallax";
const App = () => {
  const cat = useParallax({
    scale: [0.5, 1, "easeInQuad"],
  });
  const dog = useParallax({
    scaleX: [1, 0, "easeInQuad"],
  });
  const rabbit = useParallax({
    scale: [1.5, 1, "easeInQuad"],
  });

  return (
    <div className="container-body">
      <div className="images-wrapper">
        <div className="cat">
          <img
            ref={cat.ref}
            src="https://images.pexels.com/photos/1404819/pexels-photo-1404819.jpeg?auto=compress&cs=tinysrgb&w=200"
          />
        </div>
        <div className="dog">
          <img
            ref={dog.ref}
            src="https://images.pexels.com/photos/3361739/pexels-photo-3361739.jpeg?auto=compress&cs=tinysrgb&w=200"
          />
        </div>
        <div className="rabbit">
          <img
            ref={rabbit.ref}
            src="https://images.pexels.com/photos/3828097/pexels-photo-3828097.jpeg?auto=compress&cs=tinysrgb&w=200"
          />
        </div>
      </div>
    </div>
  );
};
export default App;
CSS:
.container-body {
  height: 9000px;
}
.images-wrapper {
  display: flex;
  align-items: center;
  justify-content: center;
  margin-top: 55%;
}
.images-wrapper img {
  width: 100;
  height: 100;
  object-fit: cover;
}
Parallax Banners
Using parallax banners in client projects is one of my favorite things because they make images appear to be so real. The responsiveness of a side is highlighted by parallax banners, which also reflect natural features like a mountain, sea, or sky. We’ll be looking at parallax banners in this section.
You must import ParallaxBanner from React Scroll Parallax to use Parallax Banner.
import { ParallaxBanner } from "react-scroll-parallax";It’s time to use the imported component in our code after importation.
Please be aware that the layers prop attribute on the ParallaxBanner component accepts an array as a value.
The array’s first value is an object with the properties image and speed; its second value is an object with a children element, like a sample text. Finally, the third value contains an object that also has the properties of speed and image.
To ensure proper comprehension and confirmation, please refer to the code that follows the output.

Code:
import "./App.css";
import { ParallaxBanner } from "react-scroll-parallax";
const App = () => {
  return (
    <div className="container-body">
      <ParallaxBanner
        layers={[
          { image: "/images/night.jpeg", speed: -20 },
          {
            speed: -15,
            children: (
              <div className="">
                <h1 className="text">Hello World!</h1>
              </div>
            ),
          },
          { image: "/images/mountain.png", speed: -10 },
        ]}
        className="bg-container"
      >
        <div className="bg-container">
          <h1 className="">Hello World!</h1>
        </div>
      </ParallaxBanner>
    </div>
  );
};
export default App;
CSS:
.container-body {
  height: 9000px;
}

.bg-container {
  position: relative;
  width: 70% !important;
  height: 400px;
  margin: auto;
  margin-top: 55%;
}
.bg-container h1 {
  color: white;
  display: flex;
  align-items: center;
  justify-content: center;
  margin-top: 150px;
  font-size: 70px;
}
Advanced Banners
This advanced parallax banner has more customizability, and it will correctly demonstrate scroll behavior. In a sophisticated banner, each section is broken down into distinct objects, such as background, headline, foreground, and gradientOverlay, all accepted as an array by the layout props.
Below is a code sample on how to create an advanced banner:
import "./App.css";
import { ParallaxBanner } from "react-scroll-parallax";
const App = () => {
  const background = {
    image: "/images/night.jpeg",
    translateY: [0, 50],
    opacity: [1, 0.3],
    scale: [1.05, 1, "easeOutCubic"],
    shouldAlwaysCompleteAnimation: true,
  };
  const headline = {
    translateY: [0, 30],
    scale: [1, 1.05, "easeOutCubic"],
    shouldAlwaysCompleteAnimation: true,
    expanded: false,
    children: (
      <div className="absolute inset-0 flex items-center justify-center">
        <h1 className="text-6xl md:text-8xl text-white font-thin">WELCOME!</h1>
      </div>
    ),
  };
  const foreground = {
    image: "/images/mountain.png",
    translateY: [0, 15],
    scale: [1, 1.1, "easeOutCubic"],
    shouldAlwaysCompleteAnimation: true,
  };
  const gradientOverlay = {
    opacity: [0, 0.9],
    shouldAlwaysCompleteAnimation: true,
    expanded: false,
    children: (
      <div className="absolute inset-0 bg-gradient-to-t from-gray-900 to-blue-900" />
    ),
  };
  return (
    <div className="container-body">
      <ParallaxBanner
        layers={[background, headline, foreground, gradientOverlay]}
        className="bg-container"
      />
    </div>
  );
};
export default App;
CSS:
.container-body {
 height: 9000px;
}

.bg-container {
 position: relative;
 width: 70% !important;
 height: 600px;
 margin: auto;
 margin-top: 55%;
}
.bg-container h1 {
 color: white;
 display: flex;
 align-items: center;
 justify-content: center;
 margin-top: 150px;
 font-size: 70px;
}
Output:

Easing Animation
This section will demonstrate how to make a pleasant scrolling animation using the translateX property from the easing animation. Our main emphasis will be on using a preset, Independent Easing, and Custom cubic-bezier.
Using a preset
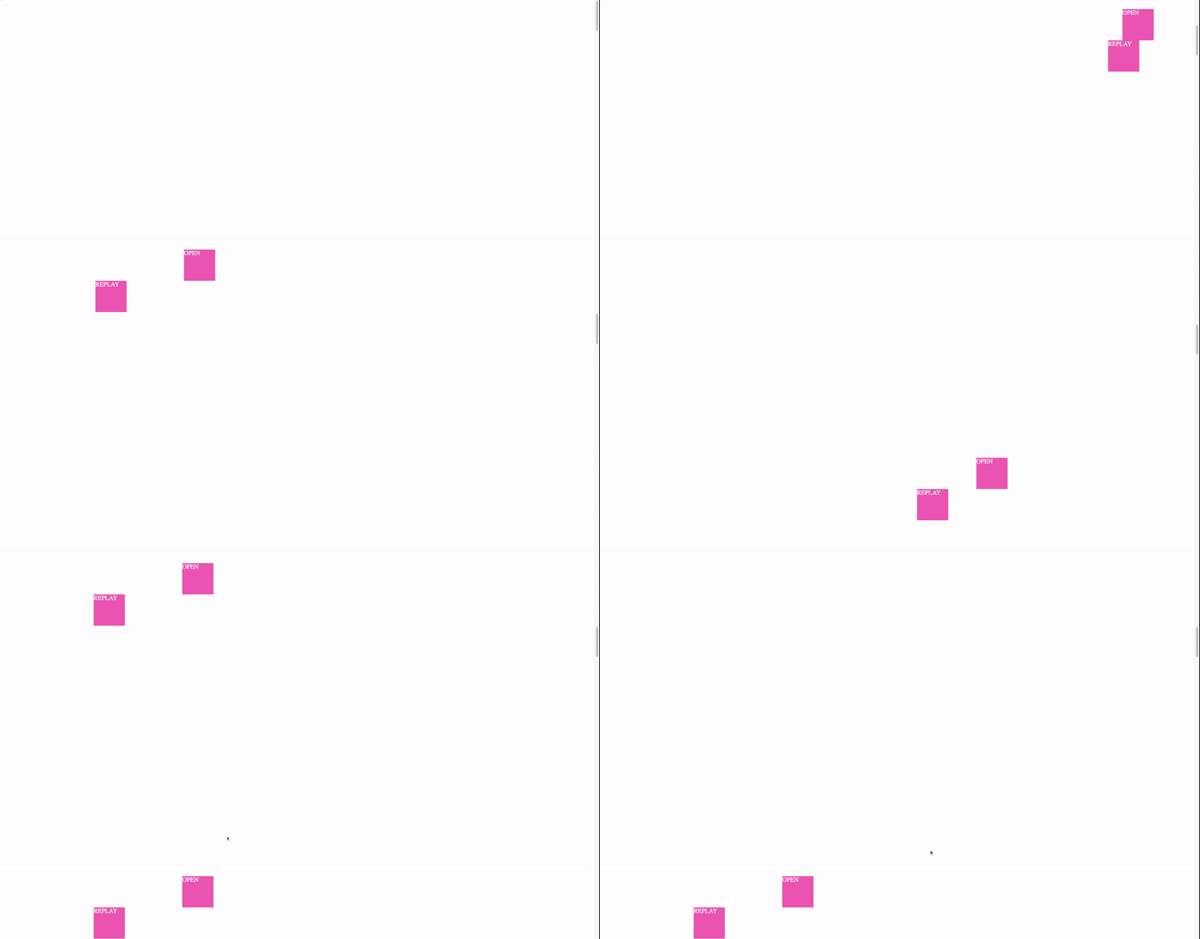
Using a preset is very simple; all you have to do is use the translateX and easing to move the element to the right side of the screen. Please be aware that the object travels a greater distance to the right of the screen, the higher the translateX value.
Code sample:
import "./App.css";
import { useParallax } from "react-scroll-parallax";
const App = () => {
  const parallax = useParallax({
    easing: "ç",
    translateX: [0, 1700],
  });
  const parallax2 = useParallax({
    easing: "easeOutQuad",
    translateX: [0, 1700],
  });
  return (
    <div className="container-body">
      {/* <div className="wrapper"> */}
      <div className="box" ref={parallax.ref}>
        OPEN
      </div>
      <div className="box2" ref={parallax2.ref}>
        REPLAY
      </div>
      {/* </div> */}
    </div>
  );
};
export default App;
CSS:
.container-body {
  height: 9000px;
}
.box {
  width: 100px;
  height: 100px;
  background-color: hotpink;
  margin-top: 50rem;
  color: white;
  font-size: 20px;
}
.box2 {
  width: 100px;
  height: 100px;
  background-color: hotpink;
  margin-top: 0rem;
  color: white;
  font-size: 20px;
}
Independent Easing
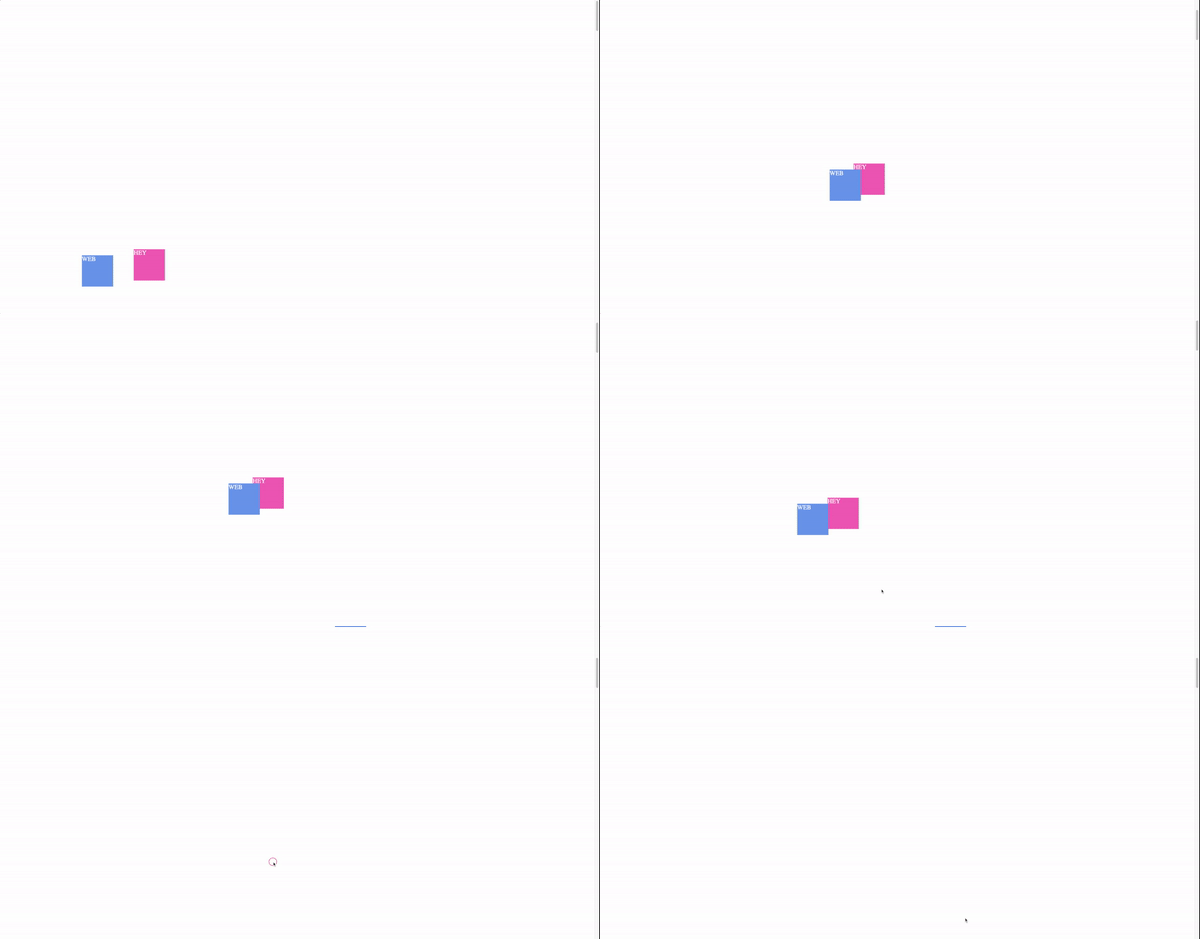
In this section, we’ll use the translateX and translateY functions, each of which will have an array as a value and just the easing name as a third value.
Code:
import "./App.css";
import { useParallax } from "react-scroll-parallax";
const App = () => {
  const parallax = useParallax({
    translateX: [0, 1100, "easeOutQuint"],
    translateY: [-10, 1100, "easeInQuint"],
  });
  const parallax2 = useParallax({
    translateX: [-200, 1100, "easeOutQuint"],
    translateY: [-10, 1100, "easeInQuint"],
  });
  return (
    <div className="container-body">
      <div className="box" ref={parallax.ref}>
        HEY
      </div>
      <div className="box2" ref={parallax2.ref}>
        WEB
      </div>
    </div>
  );
};
export default App;
CSS:
.container-body {
  height: 9000px;
}

.box {
  width: 100px;
  height: 100px;
  background-color: hotpink;
  margin-top: 50rem;
  color: white;
  font-size: 20px;
}
.box2 {
  width: 100px;
  height: 100px;
  background-color: cornflowerblue;
  margin-top: -5rem;
  color: white;
  font-size: 20px;
}
Custom cubic-bezier
The Custom cubic-bezier effect we’ll be creating in this section will be built using the code below:
easing: [1, -0.75, 0.5, 1.34],
translateX: [0, 1100],
translateY: [1100],
You should manually set the value for translateX and translateY to match the animation’s direction. This part is somewhat complicated when setting the value, but it is doable by manually setting the value.

Code:
import "./App.css";
import { useParallax } from "react-scroll-parallax";
const App = () => {
  const parallax = useParallax({
    easing: [1, -0.75, 0.5, 1.34],
    translateX: [0, 1100],
    translateY: [1100],
  });
  const parallax2 = useParallax({
    translateX: [-200, 1100, "easeOutQuint"],
    translateY: [-10, 1100, "easeInQuint"],
  });
  return (
    <div className="container-body">
      <div className="box" ref={parallax.ref}>
        OPEN
      </div>
      <div className="box2" ref={parallax2.ref}>
        REPLAY
      </div>
    </div>
  );
};
export default App;
CSS:
.container-body {
  height: 9000px;
}

.box {
  width: 100px;
  height: 100px;
  background-color: hotpink;
  margin-top: 90rem;
  color: white;
  font-size: 20px;
}
.box2 {
  width: 100px;
  height: 100px;
  background-color: cornflowerblue;
  margin-top: -5rem;
  color: white;
  font-size: 20px;
}
Session Replay for Developers
Uncover frustrations, understand bugs and fix slowdowns like never before with OpenReplay — an open-source session replay tool for developers. Self-host it in minutes, and have complete control over your customer data. Check our GitHub repo and join the thousands of developers in our community.
Building a Membership Website with React Scroll Parallax
The membership website will be created in this section using React Scroll Parallax. The website won’t have any complicated components; it will just have standard React JSX elements, CSS, and React Scroll Parallax components, which we’ll use to create beautiful animation as the user scrolls up and down the page.
By clicking on this link, you can easily access and clone the starter template on GitHub. Once you’ve done that, please use npm i to install the React libraries and React itself before using npm start to run the server. The starter temples do not include React Scroll Parallax codes but we’ll do that after some brief explanation on how to use the React Scroll Parallax hook on the website.
Let’s look at the helpful React Scroll Parallax component we’ll be using before we begin building the website. RotateY, scaleX, and Easing will be used to build the website; its application was covered earlier in this article. The useParallax hook’s use of these attributes will enable us to create the designs we want, including scaling and Y-axis rotation. The code that will enable us to achieve our goal is provided below:
const rotateYAxis = useParallax({
  rotateY: [0, 360],
});
const ScaleXAxis = useParallax({
  scaleX: [0, 3, "easeInQuad"],
});

const parallaxRotateY2 = useParallax({
  rotateY: [0, 360],
});
const parallaxRotateY3 = useParallax({
  rotateY: [0, 360],
});
const easingUsingPresetLeft = useParallax({
  easing: "easeOutQuad",
  translateX: [-340, 100],
});
const easingUsingPresetRight = useParallax({
  easing: [1, -0.75, 0.5, 1.34],
  translateX: [0, -260],
  translateY: [1100],
});
From the code above, each variable will have the [ref](https://reactjs.org/docs/refs-and-the-dom.html) property that will be used in the JSX element.
**
The goal of developing the website is to demonstrate how React Scroll Parallax functions and how you should apply it to your website. It is a very easy process. and the output of the website we discussed for members is shown below:

The only thing present on the website is the header, which houses the navigation bar and the site’s logo. On the website, each row of content is held by several sections, and the majority of these sections will contain the ref attributes that will be used with React Scroll Parallax. To display the scroll effects you can see in the output above, I used the parallax container. Here is the React code for the aforementioned output:
import "./App.css";
import { useParallax } from "react-scroll-parallax";
const App = () => {
  const scaleCParallax = useParallax({
    scaleX: [0, 3, "easeInQuad"],
  });
  const parallaxRotateY = useParallax({
    rotateY: [0, 360],
  });
  const parallaxRotateY2 = useParallax({
    rotateY: [0, 360],
  });
  const parallaxRotateY3 = useParallax({
    rotateY: [0, 360],
  });
  const parallaxEasing = useParallax({
    easing: "easeOutQuad",
    translateX: [-340, 100],
  });
  const parallaxEasingLeft = useParallax({
    easing: [1, -0.75, 0.5, 1.34],
    translateX: [0, -260],
    translateY: [1100],
  });
  return (
    <div>
      <header>
        <div className="logo">
          <img src="https://img.freepik.com/free-vector/branding-identity-corporate-vector-logo-m-design_460848-10168.jpg" />
        </div>
        <nav>
          <li>Home</li>
          <li>About</li>
          <li>Team</li>
          <li>Services</li>
          <li>Learn more</li>
        </nav>
      </header>
      <section className="bg-container">
        <img
          ref={parallaxRotateY.ref}
          src="https://images.pexels.com/photos/853168/pexels-photo-853168.jpeg?auto=compress&cs=tinysrgb&w=1260&h=750&dpr=2"
        />
        <div className="absolute-text">
          <h1 ref={parallaxEasing.ref}>MEMBERSHIP WEBSITE</h1>
          <h2 ref={parallaxEasingLeft.ref}>For members only non profitable</h2>
        </div>
      </section>
      <br />
      <section className="card-container" ref={scaleCParallax.ref}>
        <div className="card">
          <img src="https://images.pexels.com/photos/2422294/pexels-photo-2422294.jpeg?auto=compress&cs=tinysrgb&w=1260&h=750&dpr=2" />
        </div>
        <div className="card">
          <img src="https://images.pexels.com/photos/2422290/pexels-photo-2422290.jpeg?auto=compress&cs=tinysrgb&w=1260&h=750&dpr=2" />
        </div>
      </section>

      <br />
      <br />
      <section className="card-container">
        <div className="card" ref={parallaxRotateY2.ref}>
          <img src="https://images.pexels.com/photos/3184398/pexels-photo-3184398.jpeg?auto=compress&cs=tinysrgb&w=800" />
        </div>
        <div ref={parallaxRotateY3.ref} className="card">
          <img src="https://images.pexels.com/photos/1181438/pexels-photo-1181438.jpeg?auto=compress&cs=tinysrgb&w=1260&h=750&dpr=2" />
        </div>
      </section>
      <br />

      <section className="subscribe">
        <h1>Subscribe to our news letter</h1>
        <br />
        <input type="email" placeholder="youremail@gmail.com" />
        <button>Subscribe</button>
      </section>
    </div>
  );
};
export default App;
CSS:
* {
  margin: 0;
  padding: 0;
  box-sizing: border-box;
}
body {
  font-family: Arial, Helvetica, sans-serif;
  background-color: black;
  color: white;
}
/* Header section */
header {
  display: flex;
  align-items: center;
  padding: 20px;
  justify-content: space-between;
}
header nav {
  display: flex;
  align-items: center;
}
header nav li {
  list-style-type: none;
  margin-right: 10px;
  padding: 10px;
  cursor: pointer;
}
.logo img {
  width: 50px;
  height: 50px;
  /* border-radius: 50%; */
  border-radius: 10px;
}
img {
  object-fit: cover;
}
.bg-container {
  position: relative;
}
.absolute-text {
  position: absolute;
  top: 50%;
  left: 50%;
  transform: translate(-50%, -50%);
}
.absolute-text h1 {
  font-size: 5rem;
  background-color: rgba(100, 148, 237, 0.644);
}
.bg-container img {
  width: 100%;
  height: 90vh;
}
.card-container {
  display: flex;
  width: 80%;
  margin: auto;
}
.card {
  flex-basis: 50%;
  margin: 10px;
  line-height: 1.6;
}
.card img {
  width: 100%;
}
.subscribe {
  width: 80%;
  display: block;
  margin: auto;
  text-align: center;
  background-color: cornflowerblue;
  padding: 20px;
}
.subscribe button {
  padding: 10px;
  outline: none;
  cursor: pointer;
}
.subscribe input {
  padding: 10px;
  outline: none;
  border: none;
}
You can access the finished source code on GitHub. The purpose of this project is to build a straightforward membership website so that you can see and understand how the React Scroll Parallax component functions. As long as you fully comprehend the library itself, it’s acceptable to customize or add more features to the website.
Tips and Hints for using React Scroll Parallax
Here are some cool tips and hints for working with React Scroll Parallax
- Use the ParallaxBanner hook to create a full-screen banner with parallax scrolling effects.
- Use the ref hook to access a Parallax component’s DOM element by passing a callback function that will be called with the DOM element as an argument.
Conclusion
We covered all the information required to start using React Scroll Parallax in this article, which I hope you found interesting. Building a membership website for our project taught us how to use React Scroll Parallax. You can find out more about React Scroll Parallax’s many additional features by visiting its official website. In order to expand your experience with React Scroll Parallax, you can also start incorporating scrolling animation into your own projects or those of your clients.

