Creating Animations with Rough Notation

Animations greatly help to beautify a website’s user interface, thus increasing its visual appeal and engagement with users. Rough Notation, a JavaScript library, is one example of how you can add animations to your website, as this article will prove.

Discover how at OpenReplay.com.
Rough Notation is a small but powerful library that allows you to create and animate hand-drawn annotations on web pages. It is an effective tool for improving your user interface, whether you are highlighting important code snippets or adding visual flair to specific words or phrases. The library allows you to create a wide variety of animations, including:
- Underline
- Box
- Highlight
- Circle
- Brackets
- Strike-through
- Cross-off
In this article, we will look at how to leverage Rough Notation to improve website visual appeal and interactivity. We will progress from basic practical examples of using Rough Notation annotations on various HTML elements to more complex use cases.
Basic Animations with Rough Notation
Let us begin by preparing the project environment for this tutorial, including creating all the necessary project files. Create a simple index.html, style.css, and script.js file in your project folder. Once completed, link the CSS and JavaScript files to your index.html file as usual. Now, let us proceed to the next step: adding Rough Notation to our project.
According to the rough notation documentation, there are three ways to do this. However, in this tutorial, we will use the ES module method, which involves simply loading the ES module into the project. In your index.html file, add the following script tag:
<script type="module" src="https://unpkg.com/rough-notation?module"></script>With this, Rough Notation is present in your project. However, you cannot use it yet for annotations and animations. This is because you need to import it into your JavaScript file. To accomplish this, type the following as the first line of code in your script.js file:
import {annotate} from "https://unpkg.com/rough-notation?module"Rough Notation is now fully integrated into your project, and you can start creating some fancy animations. I hope you are as excited as I am. Let’s get to it!
Let’s start by annotating some basic HTML elements. Assume you have the following elements in your index.html file:
<body>
  <h1 id="circle-title">Rough Notation</h1>
  <p class="highlight-anim">This is a simple text that will be highlighted</p>
  <button class="box-button">Boxed Button</button>
</body>
Notice the classes and ids that have been added to the elements. This is how you will select the elements to animate.
The initial output for the above elements:

This is how your initial page appears. It’s just plain with no animations. Let’s fix that now using Rough notation.
To annotate a specific element(s), select it by its corresponding id or class. Let’s grab the elements that we want to annotate on our webpage. In your script.js file, enter the following code:
//Select elements to animate
const header = document.querySelector('#circle-title');
const paragraph = document.querySelector('.highlight-anim');
const button = document.querySelector('.box-button');
You can now annotate any of the elements you have selected. Let’s animate all of the elements.
Add the code below to your script.js file:
const headerAnnotation = annotate(header, { type: "circle", color: "blue" });
headerAnnotation.show();
const paragraphAnnotation = annotate(paragraph, {
  type: "highlight",
  color: "yellow",
});
paragraphAnnotation.show();
const buttonAnnotation = annotate(button, { type: "box", color: "green" });
buttonAnnotation.show();
Let’s break down the above code:
We assign to the headerAnnotation, paragraphAnnotation, and buttonAnnotation variables a function called annotate. This function accepts two parameters: the element you want to annotate and an object that specifies the type of annotation for that element, along with other optional properties for styling the annotation. In our example, we want to annotate the header, paragraph, and button elements, so we pass them to their respective annotate functions, along with the objects that specify the type of annotation for each element and the color for the annotation.
We then use the annotation.show() to display the animations on the website. The resulting output now looks like this:

Pretty cool, right? However, we could use a much shorter method to annotate all these elements simultaneously. We will see this later in the tutorial. Now, let’s look at some more creative applications of Rough Notation.
Creative Applications
To create more creative and fancy animations, we will look at how to annotate code snippets to highlight important lines and how to create animated tooltips for user interaction.
Assume you have this code snippet in your HTML:
<pre id="code-snippet">
  <code>
    const greeting = 'Hello, world!';
    <span id="important-line">
      console.log(greeting); // Highlight this line
    </span>
  </code>
</pre>
And some little CSS to style it:
#code-snippet {
  width: 75%;
  height: 150px;
  margin: 10px 0;
  border: 1px solid #ccc;
  border-radius: 5px;
  resize: none;
  background-color: #ccc;
}
Output:

We just want to highlight the console.log(greeting) statement. To do this, enter the following code in your script.js
const importantLine = document.querySelector("#important-line");
const codeAnnotation = annotate(importantLine, {
  type: "highlight",
  color: "yellow",
});
codeAnnotation.show();
This will select the particular line of code you want to annotate using its ID (important-line) and highlight it with a yellow highlight.
The resulting output:

Let us animate a tooltip that appears when a user hovers over an element. We’ll create a simple button to act as the trigger element and a paragraph text to serve as the tooltip.
HTML:
<body>
  <button id="show-tooltip">Show Tooltip</button>
  <p id="tooltip">This is a tooltip</p>
</body>
CSS:
#show-tooltip {
  margin: 10px 0;
  padding: 10px;
  background-color: #007bff;
  color: #fff;
  border: none;
  border-radius: 5px;
  cursor: pointer;
}

#tooltip {
  display: none; /* Hide tooltip content by default */
  position: relative;
  top: -10px;
  padding: 8px;
  border-radius: 4px;
  box-shadow: 0 2px 4px rgba(0, 0, 0, 0.1);
}
Output:

The tooltip is hidden by default. When the user hovers on the button, it will be displayed and annotated. Let’s achieve this functionality. In your script.js, add the following code:
const triggerButton = document.querySelector("#show-tooltip");
const tooltip = document.querySelector("#tooltip");
const annotation = annotate(tooltip, { type: "highlight", color: "yellow" });

triggerButton.addEventListener("mouseenter", () => {
  tooltip.style.display = "block";
  annotation.show();
});

triggerButton.addEventListener("mouseleave", () => {
  tooltip.style.display = "none";
  annotation.hide();
});
We select the button and tooltip based on their ids and then create an animation for the tooltip, a yellow highlight. We then add the mouseenter event listener for the button so that when a user hovers over it, the tooltip is displayed by setting tooltip.style.display to block. Once the tooltip is displayed, its animation is performed. We also include the mouseleave event listener so that when the user leaves the button, the tooltip disappears by setting its display to none, and its animation disappears by using annotation.hide().
The result of our animation is shown below:

That’s really awesome, right?? Rough Notation allows you to be as creative as you want when it comes to making your webpage more fancy and attractive.
Customizing Animation Styles
In this section, we will explore the various customization options for changing the appearance of our annotations. We will also look at combining different annotation styles within the same project and changing annotation styles dynamically based on user interactions. Lastly, we will dive into animating transitions to smoothly transition between different annotation styles and types.
As I mentioned earlier in the tutorial, the object that we pass as the second parameter to the annotate function must have a type property to specify the annotation type for the element you want to annotate. I also mentioned that it can have additional optional properties that you can use to style the annotation. These optional properties are the customization options that allow you to change the appearance of your annotations. They include:
colorpaddingstrokeWidth(thickness)multilinebracketsiterationsanimateanimationDurationrtl(right to left)
Let’s use some of these properties to further style our annotations and combine different annotations in the same project.
Suppose your index.html file’s content looks like this:
<body>
  <div class="container">
    <h1 class="circle-title">Rough Notation</h1>
    <p id="highlight">
      This is a simple text that will be highlighted using{" "}
      <span class="rough-notation">
        <b>Rough Notation.</b>
      </span>
    </p>
    <p id="underline">
      Eros quis interdum tellus facilisis metus sed, cubilia porttitor sit
      velit, ut elementum dolor adipiscing aliquam amet lacinia, quam ut.
    </p>
    <p id="brackets">Let's put this little thing in brackets, shall we?</p>
    <button id="animateBtn">Animated Button</button>
    <ul id="list">
      <li>List item 1</li>
      <li>List item 2</li>
      <li>List item 3</li>
    </ul>
  </div>
</body>
And the CSS styles in style.css look like this:
* {
  margin: 0;
  padding: 0;
  box-sizing: border-box;
}

body {
  font-family: "Poppins", sans-serif;
  background-color: #f5f5f5;
}

.container {
  width: 50%;
  padding: 20px;
  display: flex;
  flex-direction: column;
  justify-content: center;
  align-items: center;
  margin: 0 auto;
  line-height: 3;
}

.container p {
  text-align: center;
  margin: 10px 0;
}

h1 {
  text-align: center;
  width: 300px;
}

button {
  margin-bottom: 10px;
}

#list {
  width: 100px;
  margin: 10px auto;
}
This will give the following output:

Now, let’s add animations for all the elements.
Add the following code to your script.js:
//Select elements to annotate
const header = document.querySelector(".circle-title");
const highlightText = document.querySelector("#highlight");
const boxText = document.querySelector(".rough-notation");
const und    erlineText = document.querySelector("#underline");
const blockText = document.querySelector("#brackets");
const button = document.querySelector("#animateBtn");
const listItems = document.querySelector("#list");

//Create annotations for each selected element
const annotation1 = annotate(header, {
  type: "circle",
  color: "blue",
  padding: 5,
  strokeWidth: 3,
});
const annotation2 = annotate(highlightText, {
  type: "highlight",
  color: "yellow",
  padding: 5,
  animationDuration: 3000,
});
const annotation3 = annotate(boxText, {
  type: "box",
  color: "green",
  padding: 5,
});
const annotation4 = annotate(underlineText, {
  type: "underline",
  color: "red",
  padding: 5,
  iterations: 4,
});
const annotation5 = annotate(blockText, {
  type: "bracket",
  brackets: ["left", "right"],
  color: "purple",
  padding: 5,
});
const annotation6 = annotate(button, {
  type: "circle",
  color: "blue",
  padding: 5,
});
const annotation7 = annotate(listItems, {
  type: "bracket",
  brackets: ["left", "right"],
  color: "red",
  padding: 5,
});

const annotationArray = annotationGroup([
  annotation1,
  annotation2,
  annotation3,
  annotation4,
  annotation5,
  annotation6,
  annotation7,
]);
annotationArray.show();
From above, we get all of the elements in our HTML that we want to animate by their ids or classes and create annotations for each of them. We also add different properties to each annotation to change its appearance. Let’s break them down.
The padding property we added to each annotation increases the padding between the element and its annotation. The color property specifies the color of each annotation; for example, annotation1 will be a blue circle, while annotation2 will be a yellow highlight, and so on. Furthermore, the strokeWidth property that we added to annotation1 increases the thickness of the annotation. In contrast, the animationDuration property that we added to annotation2 specifies how long the animation lasts in milliseconds (3000ms in this case). The default value for the animationDuration property is 800ms.
We also added the iterations property for annotation4. This property specifies how many times the annotation will be drawn. By default, all annotations are drawn twice; for example, a highlight is drawn from left to right and then back from right to left. However, in our example, because the iterations property for the underline is set to the value 4, the underline will be drawn twice from left to right and then back from right to left, totaling four iterations. That is, left to right, right back to left, left to right again, and then right back to left again. Finally, we add the brackets property for annotation5 and annotation7 to specify which side of the elements to bracket. This property accepts a string or an array of strings as its value. Its default value is right, meaning the brackets appear only on the right side of the element. However, in our example, we set it to an array of string values, left and right, so that the brackets appear on both sides of the elements. You can also make the brackets appear on all four sides of the elements by populating the array with four string values of left, right, top, and bottom.
That’s it for the various properties you can use to style your animations. Notice how we use an annotationGroup to store all the annotations for the various elements in an array and display them all at once. This is a cleaner and shorter method of displaying multiple annotations simultaneously. It saves a lot of time compared to using the show() method, which requires you to specify it for each animation. It also helps to order your animations so that the first animation in the group is displayed first, and so on.
For this annotationGroup to take effect, you must add it to your import line, like this:
import { annotate, annotationGroup } from 'https://unpkg.com/rough-notation?module';With all the various properties added, our webpage now looks like this:

Suppose you want to combine different annotations on the same element; for example, on your button element above, you want to add brackets to the already drawn circle. To achieve this, you create another annotation for the button and show it as follows:
const annotation8 = annotate(button, {
  type: "bracket",
  color: "red",
  brackets: ["left", "right"],
});

const annotationArray = annotationGroup([
  annotation1,
  annotation2,
  annotation3,
  annotation4,
  annotation5,
  annotation6,
  annotation7,
  annotation8,
]);
annotationArray.show();
The resulting output is:

Let’s examine how to change annotation styles dynamically in response to user interactions. We’ll create a simple button and p element, annotate it, and then show you how to change those annotation styles based on a user’s interaction (e.g., a click or hover effect).
HTML:
<body>
  <p id="highlight">This is an initially highlighted text</p>
  <button id="circle-button">Circle button</button>
</body>
JavaScript:
//Select elements to annotate
const circleButton = document.querySelector("#circle-button");
const highlightText = document.querySelector("#highlight");

//Create annotations for selected elements
const circleAnnotation = annotate(circleButton, {
  type: "circle",
  color: "blue",
});
circleAnnotation.show();
const highlightAnnotation = annotate(highlightText, {
  type: "highlight",
  color: "yellow",
});
highlightAnnotation.show();
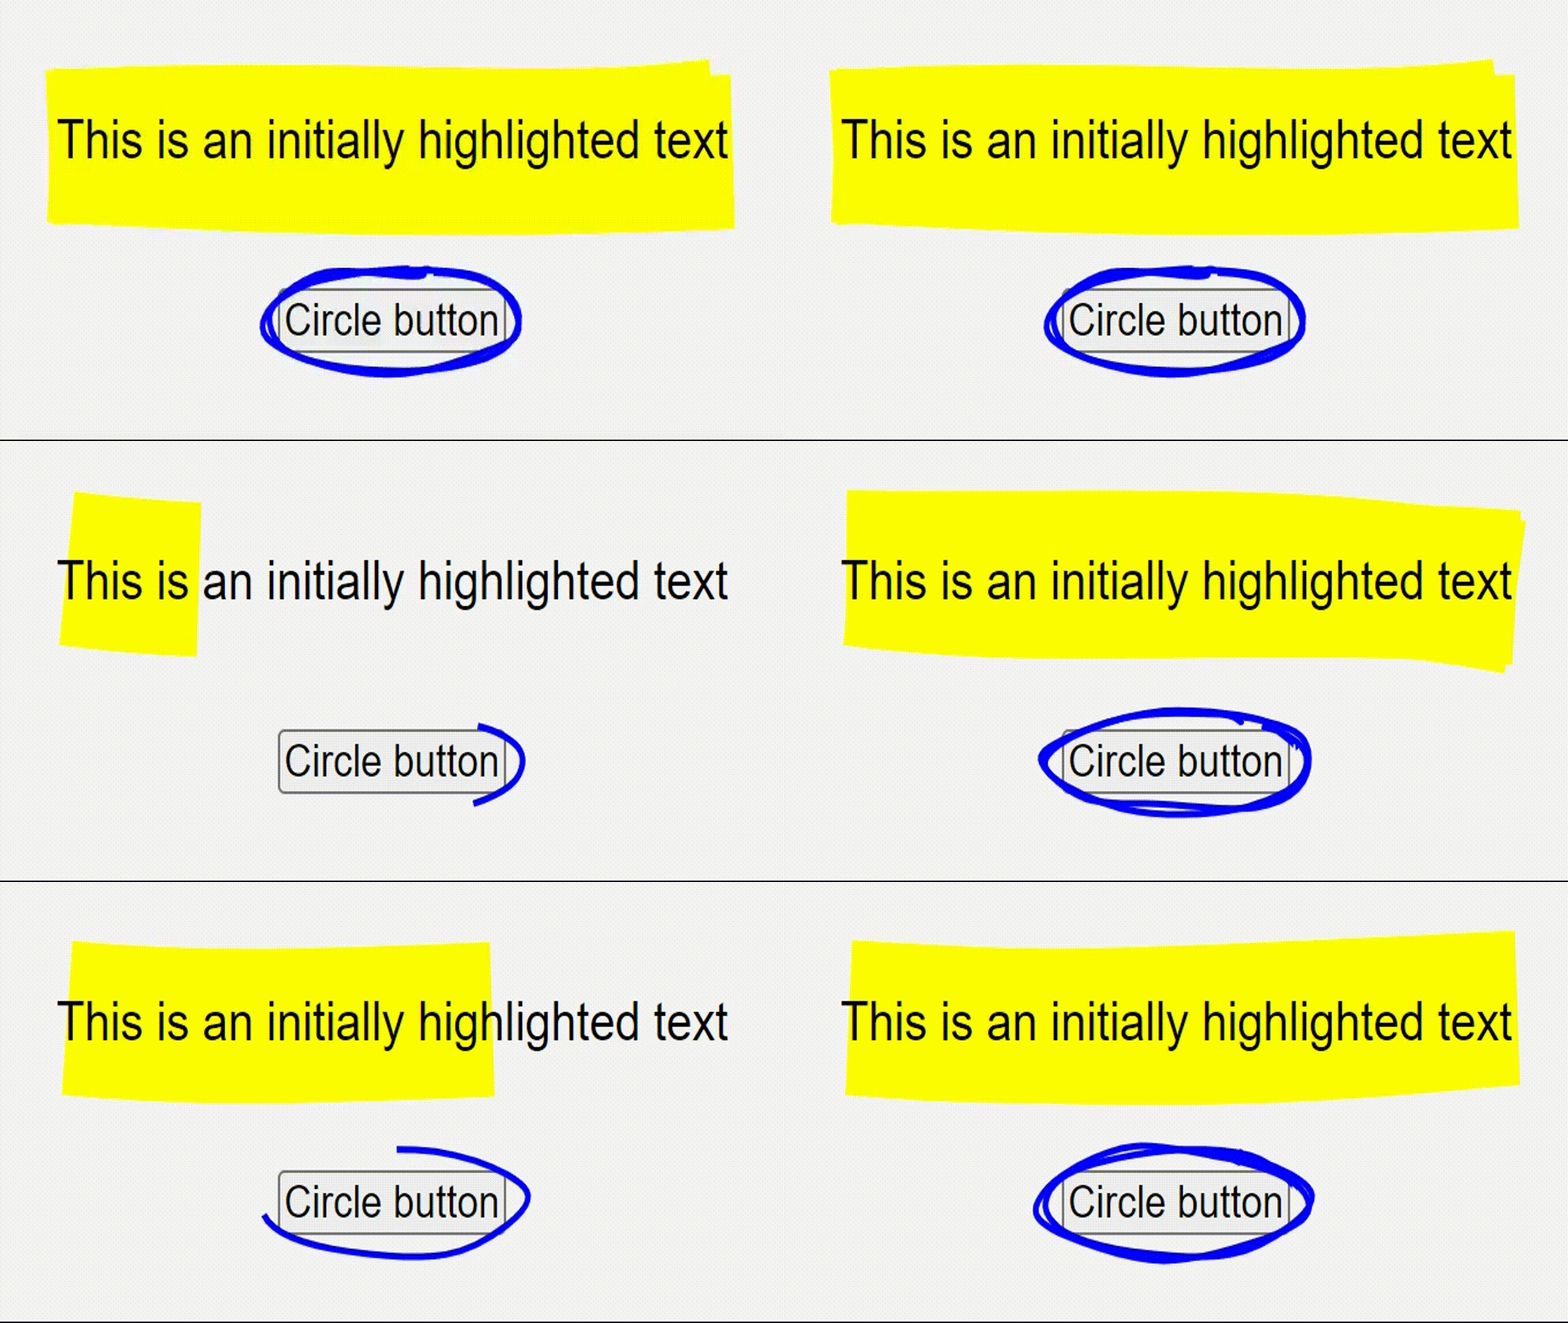
This is the original annotation for the elements. The resulting output is:

Let’s add some user interactions to change the annotation styles. Add the following code to your script.js
circleButton.addEventListener("click", () => {
  circleAnnotation.color = "red";
  circleAnnotation.strokeWidth = 5;
});

highlightText.addEventListener("mouseenter", () => {
  highlightAnnotation.color = "blue";
  highlightAnnotation.padding = 10;
});

highlightText.addEventListener("mouseleave", () => {
  highlightAnnotation.color = "yellow";
  highlightAnnotation.padding = 5;
});
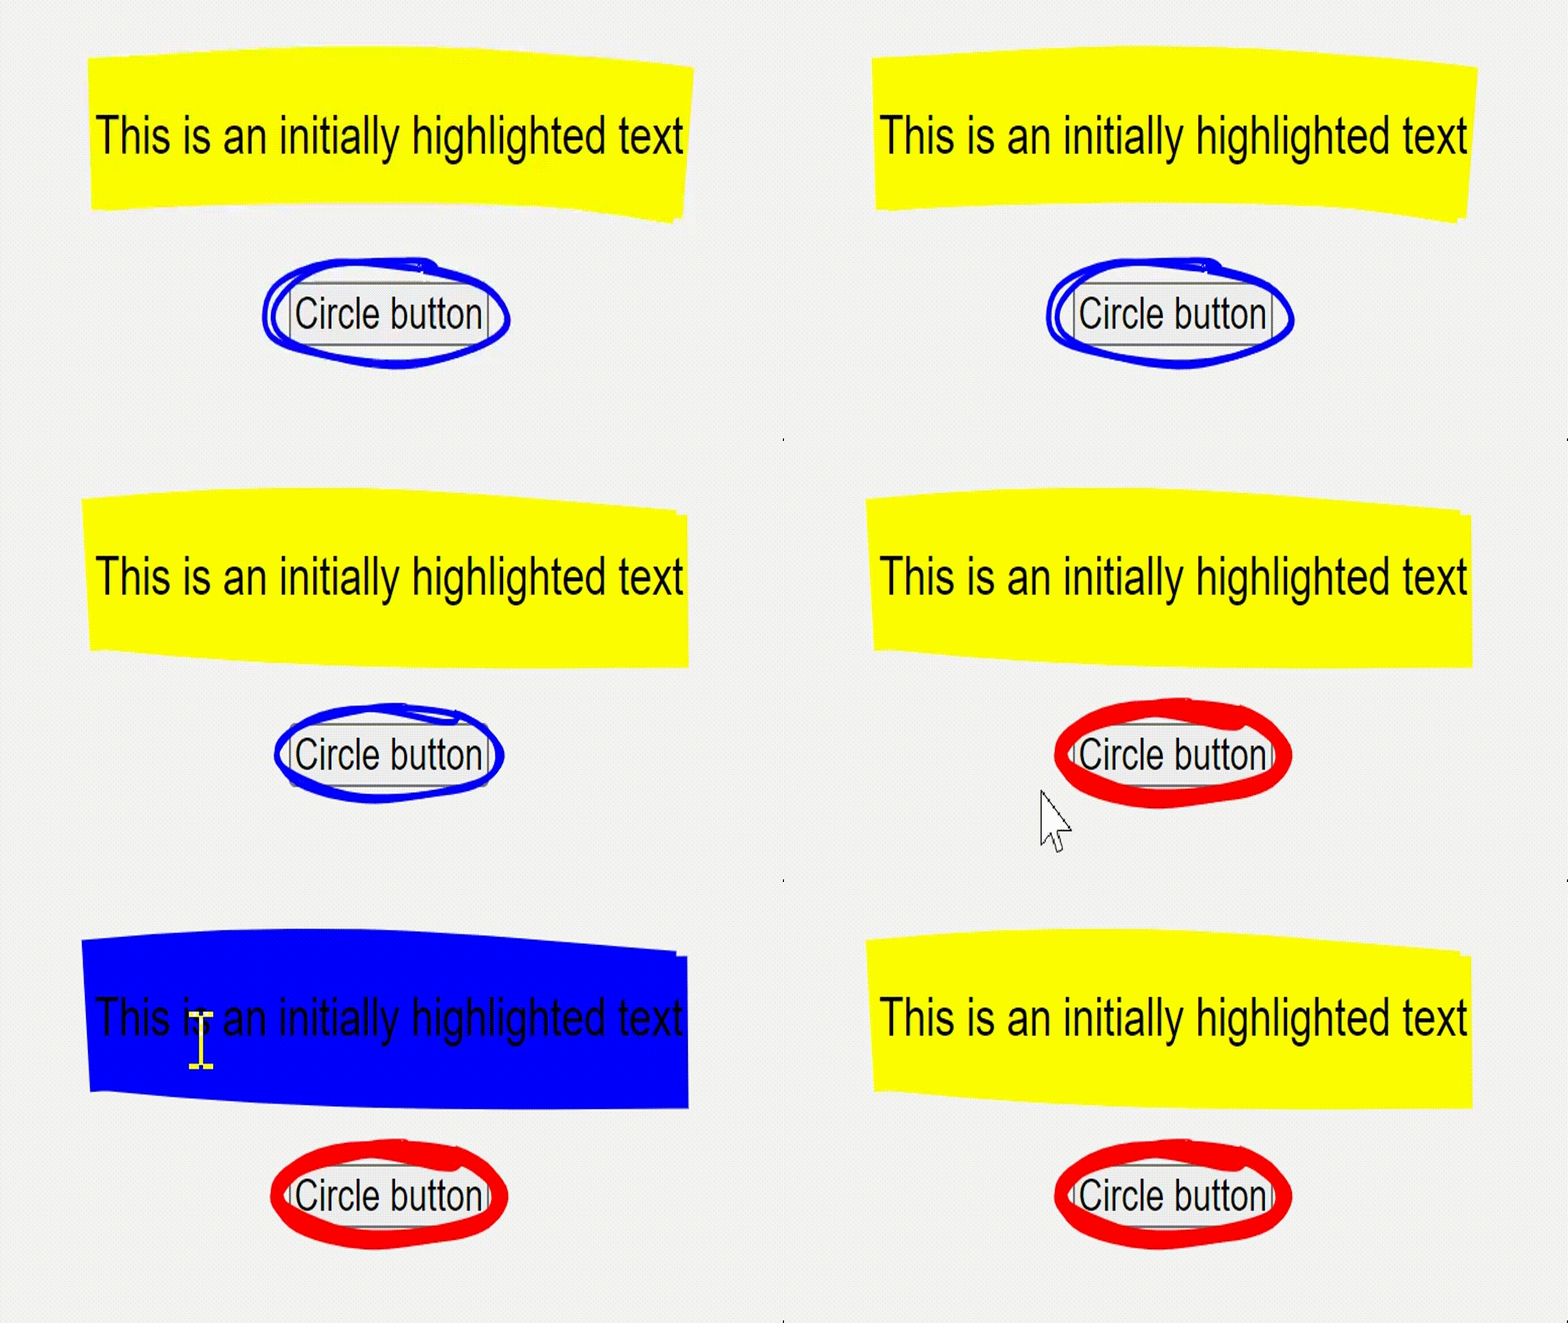
From the above code, we add a click event listener to circleButton so that when the button is clicked, the color of the circle annotation changes to red by setting circleAnnotation.color = "red" and its stroke-width (thickness) increases by 5 units using circleAnnotation.strokeWidth = 5. We then add a mouseenter event listener to the p element such that when the user hovers over it, the annotation color changes to blue, and the padding increases to 10. We also add a mouseleave event listener so that when the user leaves the text, the annotation color returns to yellow and the padding to 5.
Here is the result of these changes.

Continuing with these two elements as examples, suppose you also want the annotation type to change for each element when you perform the interactions rather than just the annotation style. For example, when you click the button, the circle animation should transition to a box animation. Here is how you can accomplish this:
//Initial annotations
const circleAnnotation = annotate(circleButton, {
  type: "circle",
  color: "blue",
});
circleAnnotation.show();
const highlightAnnotation = annotate(highlightText, {
  type: "highlight",
  color: "yellow",
});
highlightAnnotation.show();

//Creating new annotations to be transitioned to based on user interactions
const secondButtonAnnotation = annotate(circleButton, {
  type: "box",
  color: "red",
});
const secondHighlightAnnotation = annotate(highlightText, {
  type: "underline",
  color: "green",
});

circleButton.addEventListener("click", () => {
  circleAnnotation.hide();
  secondButtonAnnotation.show();
});

highlightText.addEventListener("mouseenter", () => {
  highlightAnnotation.hide();
  secondHighlightAnnotation.show();
});

highlightText.addEventListener("mouseleave", () => {
  secondHighlightAnnotation.hide();
  highlightAnnotation.show();
});
Let’s break down the code.
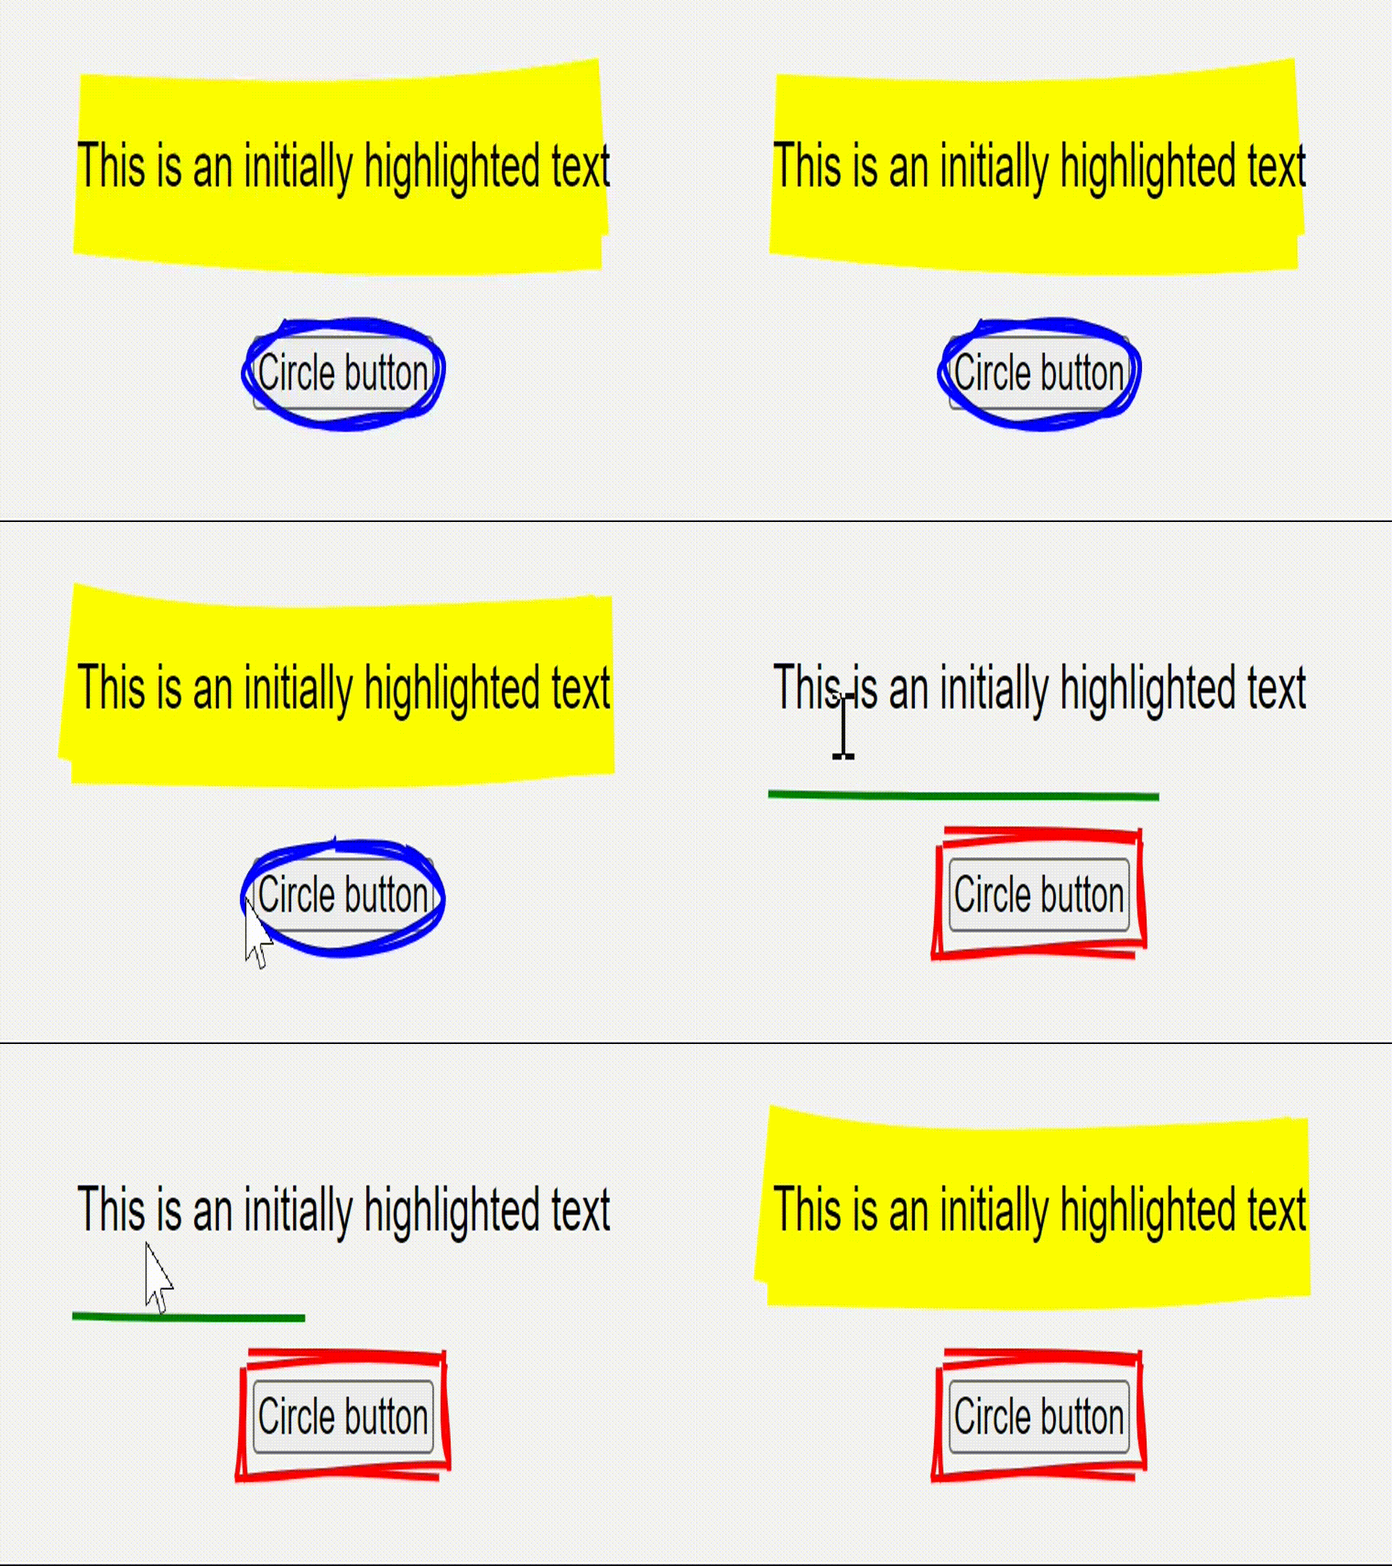
We define two new annotations, secondButtonAnnotation and secondHighlightAnnotation for the button and p elements respectively. These are the new animations to which the elements will transition when the user interacts with them. We then add the click event listener to the button element so that when the user clicks it, the circle annotation is hidden using circleAnnotation.hide() and the new secondButtonAnnotation, which is a box annotation, is displayed using secondButtonAnnotation.show(). We repeat the process for the p element using the mouseenter and mouseleave event listeners so that when the user hovers over the text, its annotation is changed to an underline using secondHighlightAnnotation.show(), and when the user leaves the text, its annotation returns to its original highlight using highlightAnnotation.show().
With these modifications, our final output looks like this:

Advanced Animation Techniques
In the previous sections, we covered advanced animation techniques, using user interactions to reveal animated tooltips and dynamically change the annotation type for an element. In this section, we will look at some performance optimization techniques when using Rough Notation extensively on our websites. We must optimize performance to ensure smooth user experiences. As such, here are some tips for ensuring robust performance from your website when using Rough Notation:
- Minimize the Number of Annotations: Consider whether all annotations are necessary. Too many annotations on a single page can cause performance issues, particularly on slower devices or browsers. To improve website performance, limit annotations to essential elements or key interactions.
- Using
annotationGroupfor multiple annotations on the same page: When adding annotations to multiple elements, always use theannotationGroupto group them together and display them in order. This improves the efficiency of your website. - Optimize Animations: If you’re animating your annotations, avoid setting long animation durations as this could cause lagging in your site if other annotations are displayed at the same time.
- Browser Compatibility: When using Rough Notation, keep browser compatibility in mind. Some older browsers or mobile devices may struggle to render complex SVG elements effectively. Test your application on a variety of browsers and devices to ensure consistent performance.
Conclusion
This article has provided a detailed guide to creating animations with Rough Notation. By leveraging Rough Notation’s capabilities, developers can enhance the visual appeal and engagement of their web applications. Readers are encouraged to explore and experiment with Rough Notation to realize the full potential of hand-drawn-style animations in their projects.
Truly understand users experience
See every user interaction, feel every frustration and track all hesitations with OpenReplay — the open-source digital experience platform. It can be self-hosted in minutes, giving you complete control over your customer data. . Check our GitHub repo and join the thousands of developers in our community..


