
.env Files and the Art of Not Committing Secrets

Have you ever seen a .env file in a project and wondered what it’s for? Or perhaps you’ve heard about the dangers of accidentally committing API keys to GitHub? This guide will explain everything you need to know about .env files – what they are, why they matter, and how to use them properly to keep your secrets safe.
Key Takeaways
.envfiles store environment-specific configuration and secrets separately from your code- Never commit
.envfiles to version control - Use
.env.examplefiles to document required variables without revealing actual values - Validate environment variables when your application starts
- Consider more advanced solutions as your team and application grow
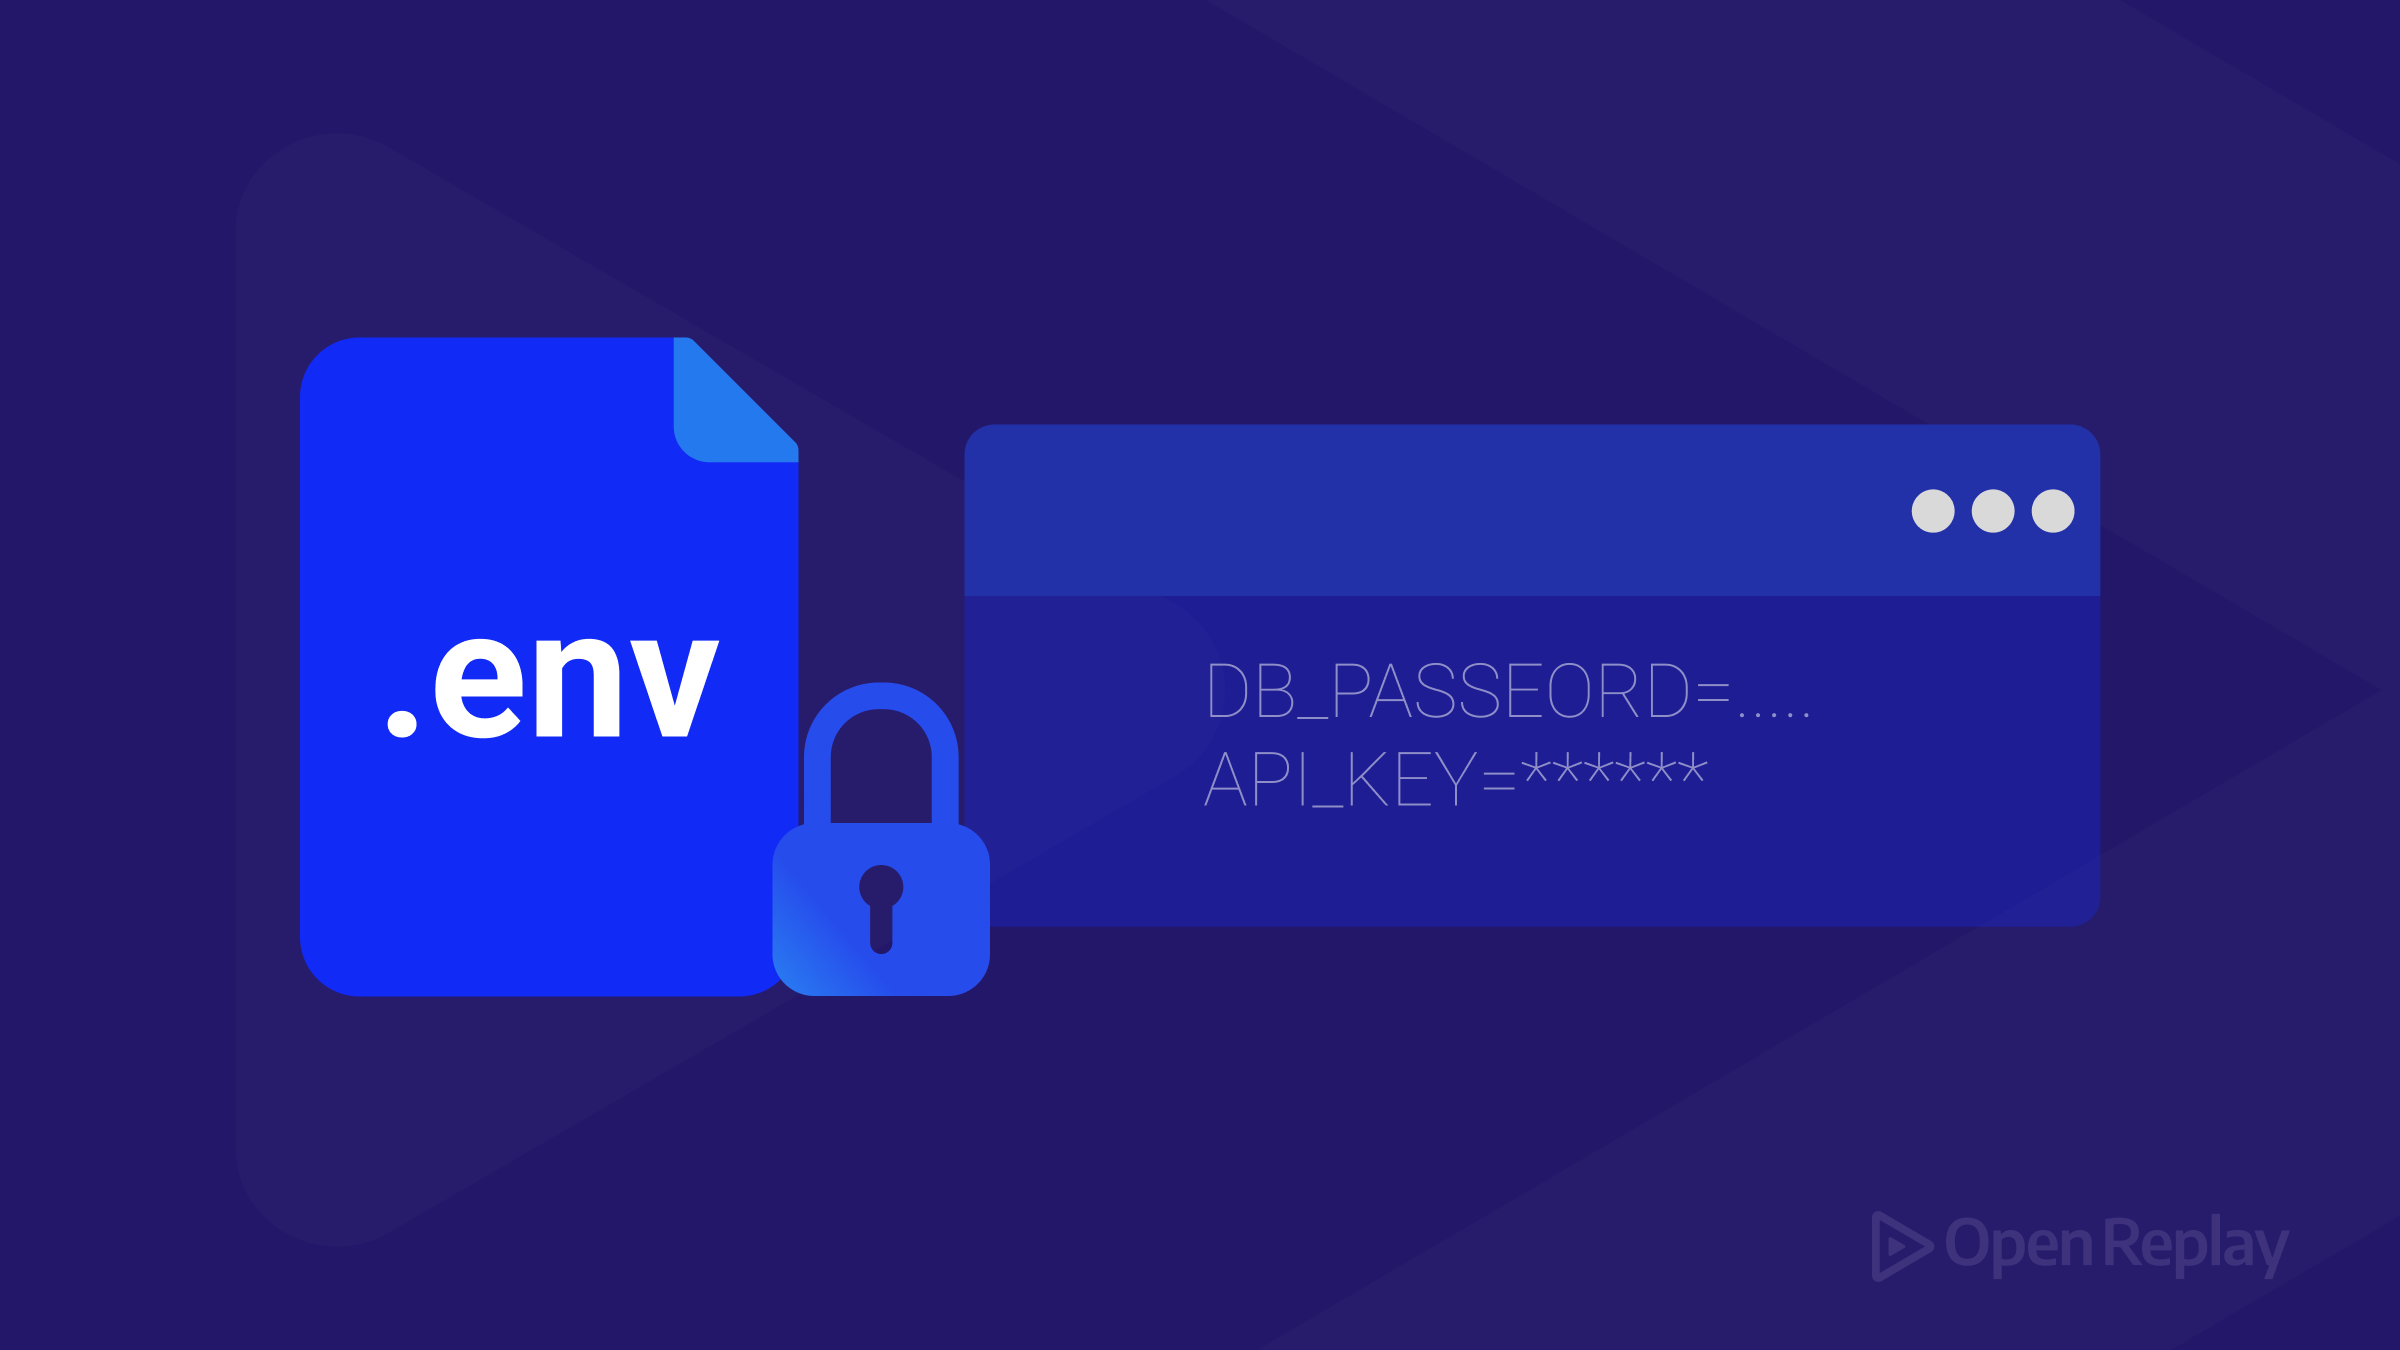
What Are .env Files?
A .env file is a simple text file that stores environment variables in a KEY=value format. These files serve a critical purpose: they keep sensitive configuration data separate from your code.
# Example .env file
API_KEY=a1b2c3d4e5f6g7h8i9j0
DATABASE_URL=postgres://username:password@localhost:5432/mydb
DEBUG=false
Environment variables are values that can affect how your running application behaves. By storing them in a .env file instead of hardcoding them in your application, you gain several advantages:
- Security: Sensitive data stays out of your codebase
- Flexibility: Different environments can use different configurations
- Simplicity: Easy to update without changing code
Why .env Files Exist: A Brief History
The .env file approach gained popularity around 2012 as part of the Twelve-Factor App methodology, which recommends storing configuration in the environment. Before this standardization, developers often made dangerous mistakes:
- Hardcoding database credentials directly in code
- Storing API keys in committed configuration files
- Using different configuration mechanisms across environments
These practices led to serious security breaches. In 2016, Uber suffered a massive data breach exposing 57 million users’ data because developers had published AWS credentials in a GitHub repository. The settlement cost them $148 million.
How .env Files Work
.env files are simple in concept but powerful in practice. Here’s how they typically work:
- You create a
.envfile in your project root - You add environment-specific variables in
KEY=valueformat - A library in your application loads these variables at runtime
- Your application code accesses these values through environment variables
The most important part: your .env file should never be committed to version control.
Setting Up .env Files in a Node.js Project
Let’s walk through a practical example using Node.js:
1. Create a .env file
In your project root, create a file named .env:
# API Credentials
API_KEY=your_secret_api_key
API_SECRET=your_secret_api_secret

# Database Configuration
DB_HOST=localhost
DB_USER=root
DB_PASS=password
DB_NAME=myapp

# Application Settings
PORT=3000
NODE_ENV=development
2. Add .env to .gitignore
Create or update your .gitignore file to include:
# Environment variables
.env
.env.local
.env.*.local
3. Install the dotenv package
npm install dotenv --save4. Load environment variables in your application
At the very top of your main application file (before any other code):
require('dotenv').config();

// Now you can access variables using process.env
const apiKey = process.env.API_KEY;
const port = process.env.PORT || 3000;

console.log(`Starting server on port ${port}`);
Security Best Practices
Following these best practices will help you avoid common security pitfalls:
1. Never commit .env files to version control
This is the most important rule. Check your .gitignore file to ensure .env is excluded.
2. Create a template .env.example file
Provide a template with the required variables but without actual values:
# API Credentials
API_KEY=
API_SECRET=

# Database Configuration
DB_HOST=
DB_USER=
DB_PASS=
DB_NAME=

# Application Settings
PORT=3000
NODE_ENV=development
This file should be committed to your repository to help other developers know which variables they need to set.
3. Validate required environment variables
Check that all required variables are present when your application starts:
const requiredEnvVars = ['API_KEY', 'DB_HOST', 'DB_USER', 'DB_PASS'];
const missingEnvVars = requiredEnvVars.filter(
  envVar => !process.env[envVar]
);

if (missingEnvVars.length > 0) {
  throw new Error(`Missing required environment variables: ${missingEnvVars.join(', ')}`);
}
4. Use different .env files for different environments
For more complex setups, you might want multiple environment files:
.env.development- Development environment settings.env.test- Test environment settings.env.production- Production environment settings
Common Challenges and Solutions
Challenge: Sharing Secrets Among Team Members
Sharing secrets securely among team members is tricky. Avoid sending credentials through email or chat.
Solutions:
- Use a password manager with sharing capabilities
- Consider a secrets management service like Doppler or HashiCorp Vault
- For small teams, secure encrypted channels may be acceptable
Challenge: Managing Multiple Environments
As your application grows, you’ll need to manage variables across environments.
Solutions:
- Use environment-specific
.envfiles (.env.development,.env.production) - Implement a loading hierarchy where
.env.localoverrides.env - Consider environment variable management tools for larger teams
Challenge: CI/CD Pipeline Integration
Your CI/CD pipeline needs access to secrets, but you can’t commit .env files.
Solutions:
- Use your CI/CD provider’s secrets management (GitHub Secrets, GitLab CI/CD Variables)
- Integrate with a secrets management service
- Generate
.envfiles during deployment from a secure source
Beyond Basic Usage
Working with TypeScript
For TypeScript projects, you can add type safety to your environment variables:
// src/env.d.ts
declare namespace NodeJS {
  interface ProcessEnv {
    NODE_ENV: 'development' | 'production' | 'test';
    PORT: string;
    API_KEY: string;
    // Add other variables here
  }
}
Docker and Containerization
When using Docker, you have several options for handling environment variables:
-
Use the
--env-fileflag:docker run --env-file .env myapp -
Define variables in your
docker-compose.yml:services: app: image: myapp env_file: - .env
Alternatives to .env Files
While .env files are popular, they’re not the only solution:
| Approach | Pros | Cons |
|---|---|---|
.env files | Simple, widely supported | Manual sharing, no versioning |
| Environment variables | Native OS support, no files needed | Harder to manage sets of variables |
| Config servers | Centralized, versioned, access control | More complex setup, potential single point of failure |
| Secret managers | Secure, audited, access control | Cost, additional dependency |
FAQs
Yes, comments start with #.
.env files are loaded by your application at runtime, while system environment variables are set at the OS level. .env variables only affect the specific application that loads them.
Use environment-specific files like .env.development and .env.production, or use a secrets management service.
The impact is negligible for most applications. The file is typically read once at startup.
Use a secure password manager or a dedicated secrets management tool rather than email or chat.
Conclusion
By keeping your secrets out of your codebase with .env files, you’re taking an important step toward more secure application development. Remember: the most secure secret is the one that never leaves your local environment.