Using tRPC for Backend Requests with React

Throughout this article, you will learn the intricacies of using tRPC in frontend development with React, including its role in frontend applications and how it compares to traditional API communication methods.The discussion will extend to advanced features, security, authentication, error handling, and debugging, ensuring you are well-equipped to leverage tRPC in your projects.

Discover how at OpenReplay.com.
Let’s start by discussing how tRPC functions within the frontend context—the workflow involved in making requests to the backend—comparing it with traditional API communication methods and highlighting its key benefits for frontend development, including type safety, development speed, and reduced boilerplate.
How tRPC Works
As a framework of RPC, tRPC communication between the frontend and backend is streamlined through a direct invocation of TypeScript functions, known as procedures. This invocation process starts when the frontend calls a tRPC procedure, like a local function call intended for backend execution. The server handles the request, which identifies and executes the corresponding procedure based on its name and signature.
In the above workflow, the framework enforces type safety by validating input arguments against the TypeScript types defined for the procedure, ensuring data integrity before and after execution. The backend procedure performs its intended operations, such as accessing a database or processing logic, within a secure environment. Upon completion, the output is type-checked and sent back to the frontend, where it is directly utilized without additional parsing or type assertions.
Comparison with Traditional API Communication Methods
tRPC offers a modern alternative in scenarios where traditional methods like REST or GraphQL may falter, standing out in several key areas:
- Real-Time Data Synchronization: It excels in applications needing live updates (e.g., chat apps, dashboards) by simplifying real-time communication through subscriptions, starkly contrasting REST’s limitations and GraphQL’s setup complexity.
- Direct Backend Access: It offers direct calls to backend functions, eliminating the need for separate API endpoints. This feature is especially beneficial for rapid prototyping and projects with tight frontend-backend integration.
- Complex Data Type Safety: Its deep TypeScript integration ensures unparalleled type safety for complex data structures, enhancing data integrity and easing debugging compared to GraphQL’s typing and REST’s more general approach.
These contrasts highlight the efficiency and developer-friendly nature of tRPC. Next, let’s dive into development, and see how to set up our frontend application.
Setting Up tRPC Frontend with React
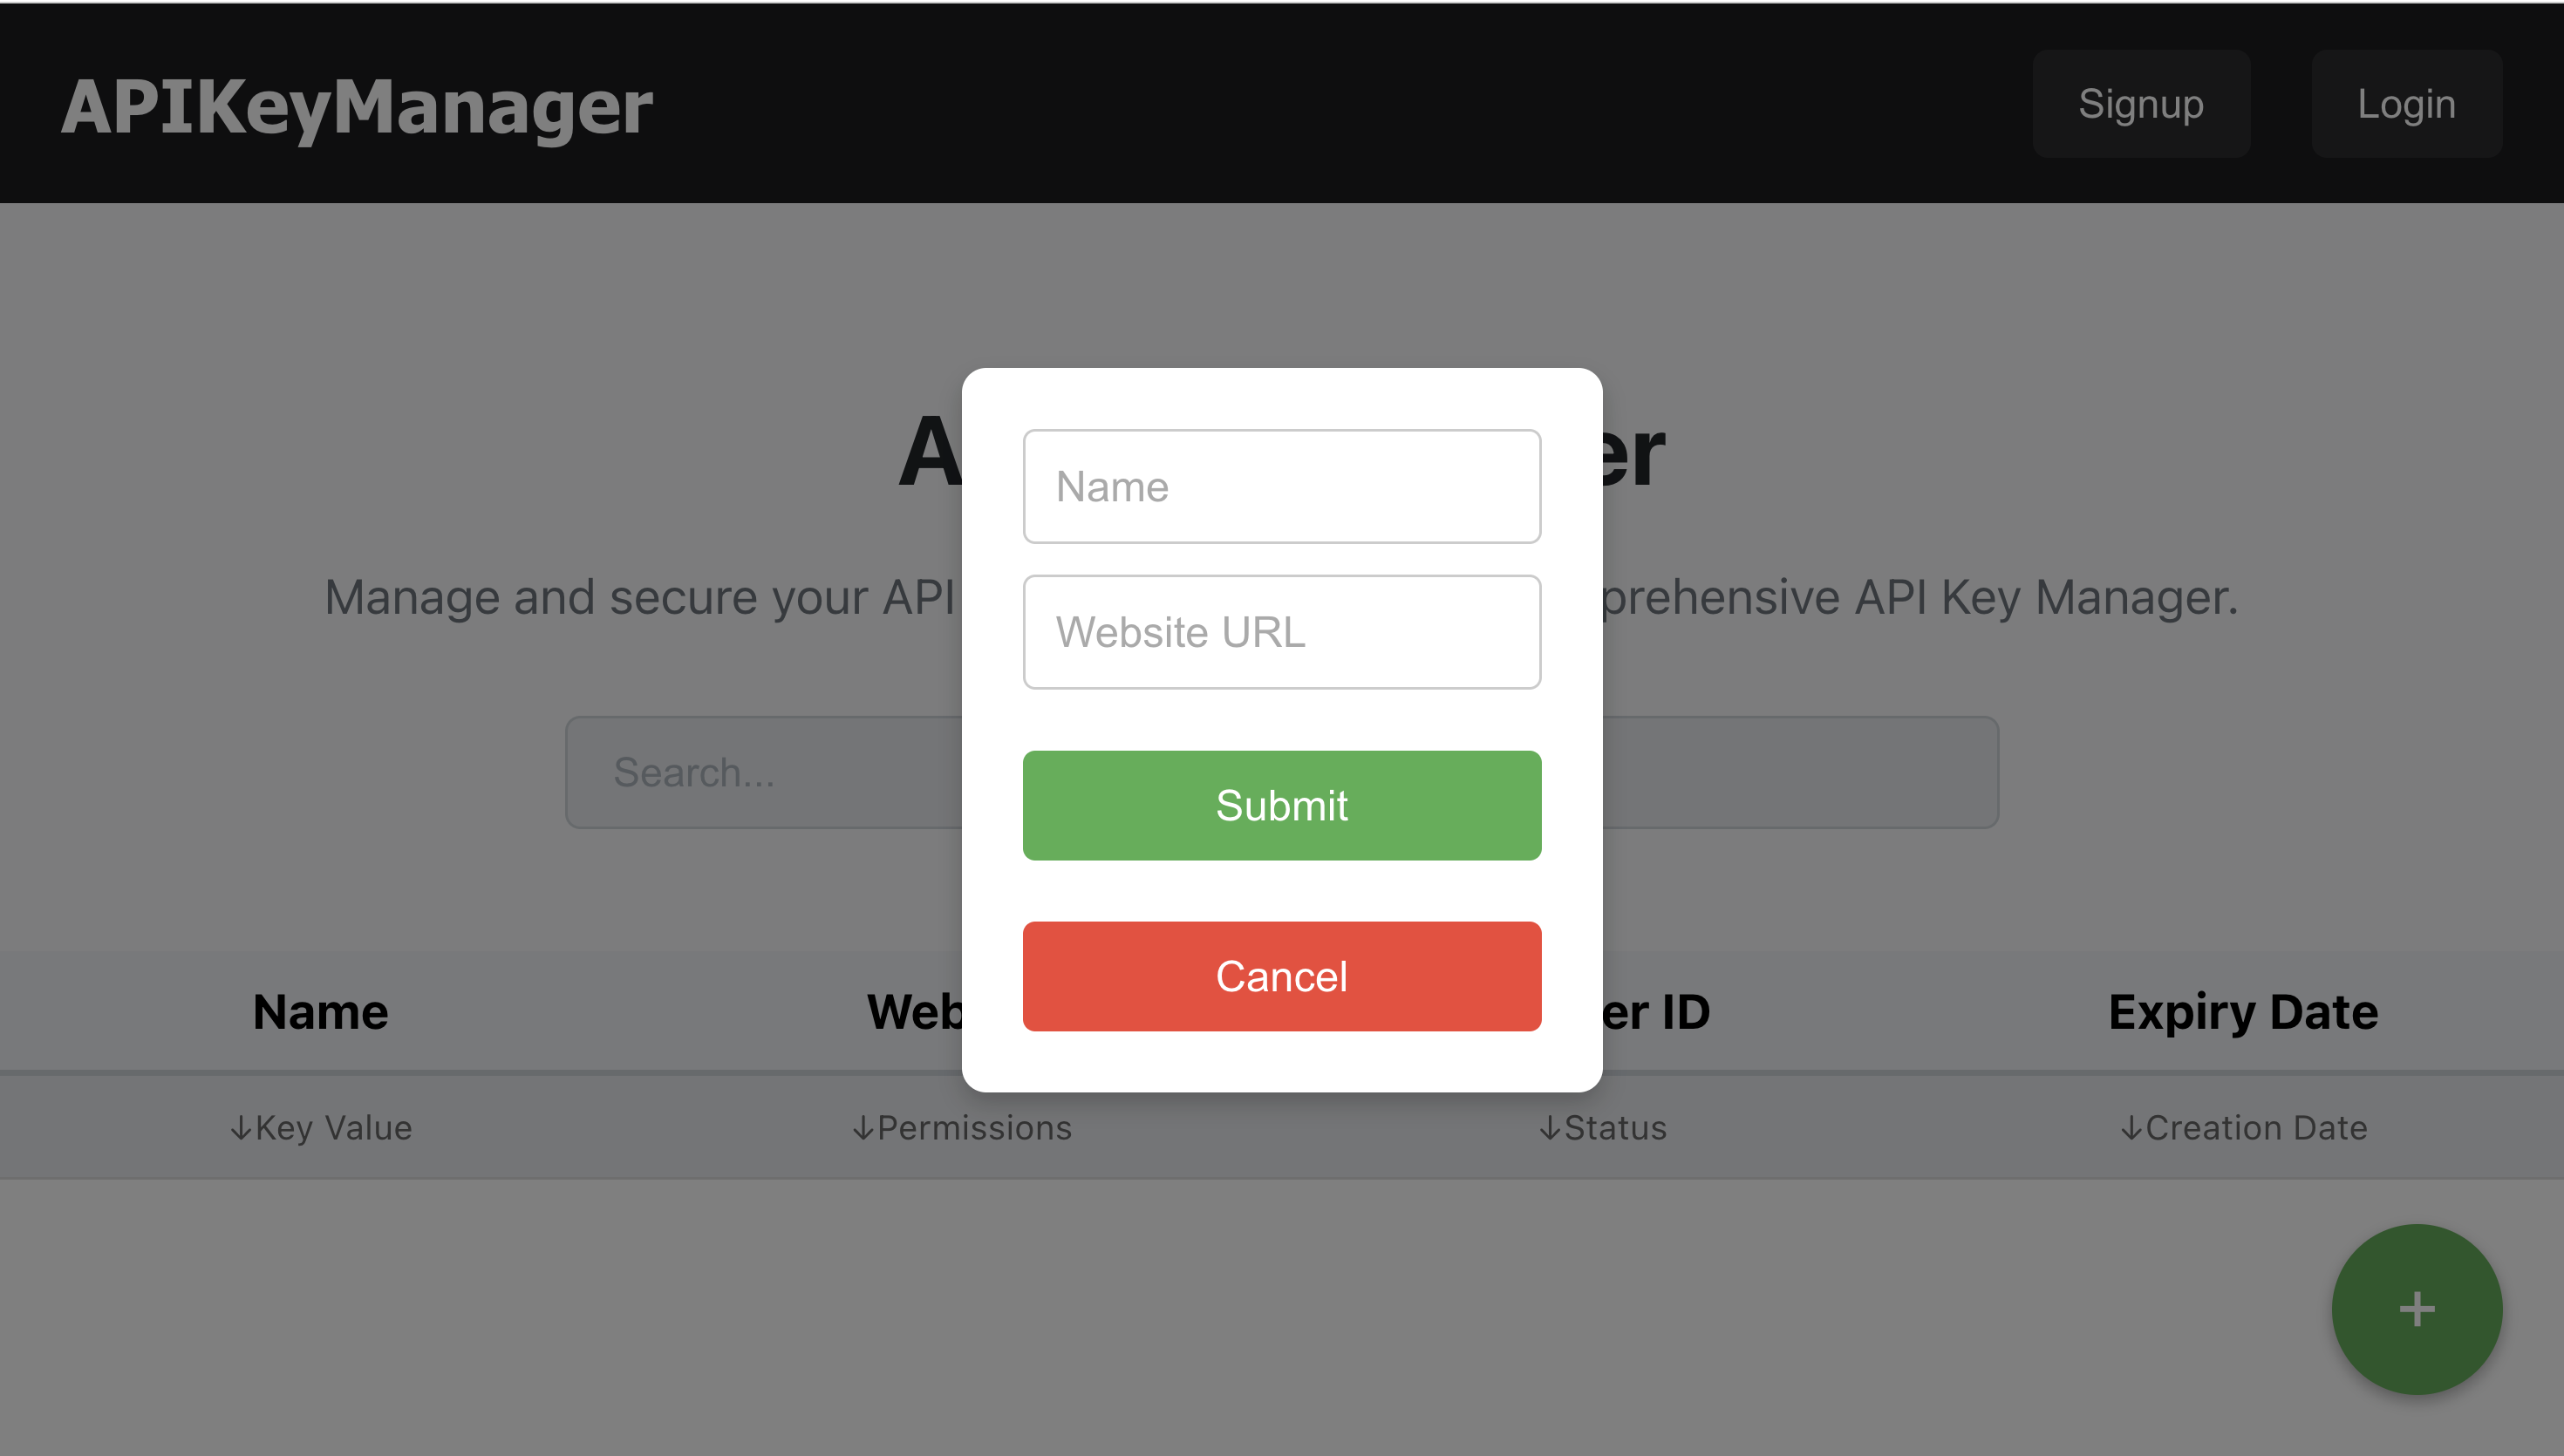
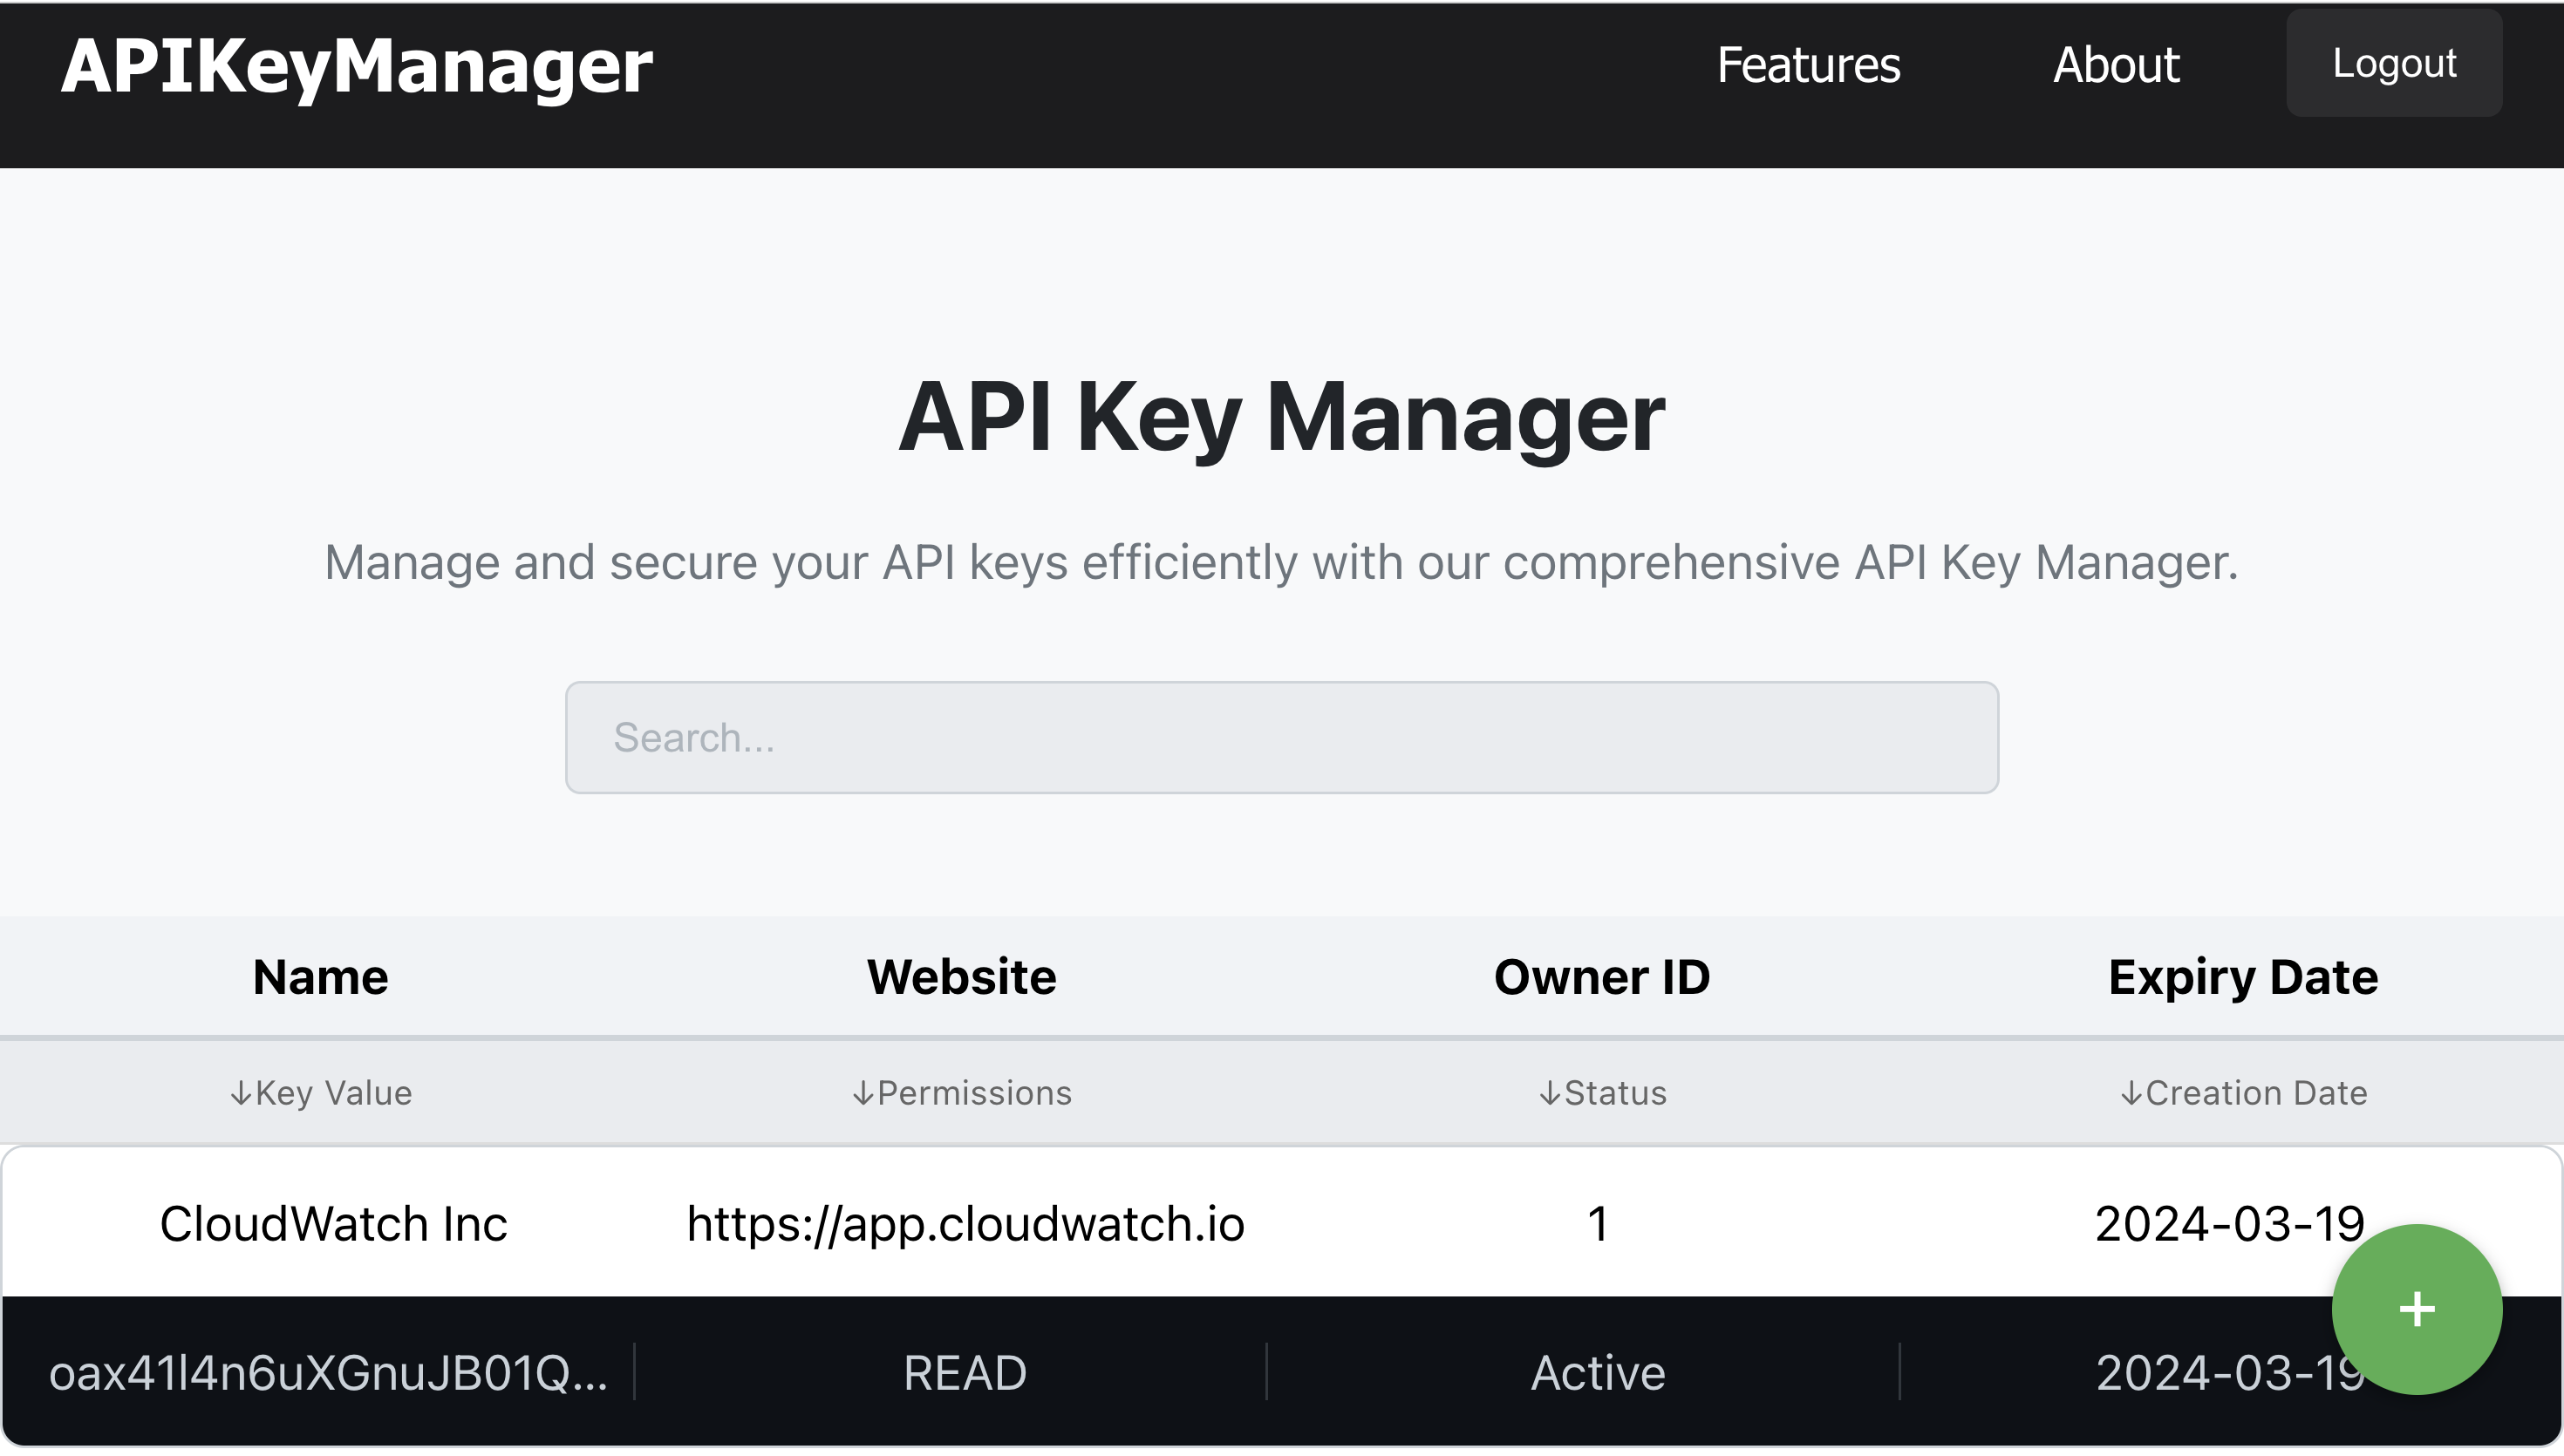
In this section, you’ll explore and learn how to extend an existing React project with tRPC. The React project is an API Keys Manager with the below UI:

Using the following commands, clone the project to your local machine, then change to the minimal-version branch of the repository and install all the dependencies needed. This contains the server source code and the React source code we will extend.
git clone git@github.com:Ikeh-Akinyemi/APIKeyManager.git
cd APIKeyManager
git checkout minimal-version
cd server; npm install; cd ..
cd client; npm install
Next, let’s install the following packages that will be used to set up the tRPC client:
npm install @trpc/server @trpc/client @trpc/react-query @tanstack/react-queryAfter installing the above packages, create a utils folder in the ./client/src directory, and create a trpc.ts file within the folder:
mkdir utils; cd utils; touch trpc.tsYou’ll set up tRPC within this file using the code snippet below:
// filename: ./client/src/utils/trpc.ts
import type { AppRouter } from '../../../server/src/api/router/_app';
import { createTRPCReact } from '@trpc/react-query';

export const trpc = createTRPCReact<AppRouter>();
The first line of the above code snippet uses TypeScript’s import type syntax to import only the type definition for AppRouter defined within the module located at ../../../server/src/api/router/_app:
// filename: ./server/src/api/router/_app
...
export const appRouter = router({
  users: userRouter,
  auth: authRouter,
  apikeys: apiKeyRouter,
  healthcheck: publicProcedure.query(async () => {
    return {
      status: "success",
      message: "server is healthy",
    };
  }),
});

export type AppRouter = typeof appRouter;
The above appRouter defines group router namespace—users, auth, and apikeys—and a procedure, healthcheck. With this setup, you can call a create procedure under the users namespace like this, /api/users.create.
The line export const trpc = createTRPCReact<AppRouter>(); initializes tRPC for use in a React application, specifically tailoring it to the shape of your API as defined by AppRouter. The function call to createTRPCReact, a utility provided by tRPC, creates a set of React hooks and utilities tailored for your setup. <AppRouter> is a TypeScript generic parameter that specifies the router configuration you use in your application. AppRouter is typically defined in your backend code, where you define all your procedures (API endpoints). By passing AppRouter as a generic to createTRPCReact, you’re informing TypeScript about the shape of your API, which enables type safety and autocompletion in the frontend when you use tRPC utilities to call your API.
Initialize tRPC Client
Next, let’s integrate the tRPC setup into the React application. Inside the ./client/src/components/App.tsx, you’ll create a client and wrap the app with the tRPC provider, alongside the QueryClientProvider from @tanstack/react-query. This setup enables you to seamlessly use tRPC’s capabilities for type-safe API calls throughout your application, ensuring that the data fetching and mutations adhere to the types defined in your server.
// filename: ./client/src/components/App.tsx
...
import { useState } from "react";
import { QueryClient, QueryClientProvider } from "@tanstack/react-query";
import { trpc } from "../utils/trpc";
import { httpBatchLink } from "@trpc/client";
import { getAuthCookie } from "../utils/helper";

function App() {
  const [queryClient] = useState(() => new QueryClient());
  const [trpcClient] = useState(() =>
    trpc.createClient({
      links: [
        httpBatchLink({
          url: "http://localhost:6789/api",
          async headers() {
            return {
              authorization: `Bearer ${getAuthCookie()}`,
            };
          },
        }),
      ],
    }),
  );

  return (
    <trpc.Provider client={trpcClient} queryClient={queryClient}>
      <QueryClientProvider client={queryClient}>
        <div className="App">{/* components*/}</div>
      </QueryClientProvider>
    </trpc.Provider>
  );
}

export default App;
In the above snippet, we use a React hook to initialize the query and the client. The function call,trpc.createClient(), creates a client instance with the specified configuration. The links property is an array containing middleware functions that intercept and process requests made by the client. httpBatchLink is a link provided by tRPC for making HTTP requests in batches. It allows bundling multiple requests into a single HTTP call for improved performance. url specifies the endpoint URL where the server is located. The headers() function dynamically generates headers for the HTTP request. In this case, it retrieves the authorization token using the getAuthCookie() function and includes it in the request headers.
Next, let’s create the file, ./client/src/utils/helpers.ts, and set up the functions saveAuthTokenToCookie and getAuthCookie for saving and getting the AccessToken return from the backend during authentication.
// filename: ./client/src/utils/helpers.ts
interface AccessToken {
  token: string | undefined;
  expiryTime: string | undefined;
}

// saveTokenToCookie saves the accessToken and expiryTime to a cookie
export const saveAuthTokenToCookie = ({
  token,
  expiryTime,
}: AccessToken): void => {
  document.cookie = `accessToken=${token};expires=${expiryTime && new Date(expiryTime).toUTCString()};path=/`;
};

// getCookie retrieves a cookie by name
export function getAuthCookie(name: string = "accessToken"): string {
  const cookieValue = `; ${document.cookie}`;
  const cookieParts = cookieValue.split(`; ${name}=`);

  if (cookieParts.length === 2) {
    const [token] = cookieParts.pop()?.split(";") ?? [""];
    return token;
  }

  return "";
}
The above code snippet utilizes the document.cookie API to store and retrieve access tokens that would be used for subsequent requests after logging into the web app. We’ll discuss about authentication later in the article.
Handling state and reactivity with tRPC in React
Handling state and reactivity isn’t different when using tRPC with React. In this section, you’ll explore mutation and query for creating and retrieving API keys from the backend.
For mutation, we will update the CreateAPIKeyModal component implementation to utilize the useMutation hook for createAPIKey procedure to create API keys on the backend.

Open the file, ./client/src/components/Modal/Modals.tsx, and update the CreateAPIKeyModal component implementation with the following:
// filename: ./client/src/components/Modal/Modals.tsx
import { trpc } from "../../utils/trpc";
...
const CreateAPIKeyModal: React.FC<CreateAPIKeyModalProps> = ({
  closeModal,
}) => {
  ...
  const mutation = trpc.apikeys.createAPIKey.useMutation();

  const handleSubmit = async (event: React.FormEvent<HTMLFormElement>) => {
    event.preventDefault();
    mutation.mutate({
      websiteUrl: formData.websiteUrl,
      name: formData.name,
    });
    closeModal(); // Close the modal upon submission
  };

  useEffect(() => {
    if (mutation.isSuccess) {
      window.location.reload();
    }
  }, [mutation.isSuccess]);

  return <div className="modal-overlay">{/* elements remain the same.*/}</div>;
};
The CreateAPIKeyModal component now includes a mutation variable initialized with trpc.apikeys.createAPIKey.useMutation(), which sets up the mutation for creating an API key. Upon form submission triggered by handleSubmit, the mutation is executed with the data from the form fields (websiteUrl and name). After triggering the mutation, the modal is closed using the closeModal function.
Additionally, an useEffect hook monitors the mutation’s success state. When the mutation is successful (mutation.isSuccess), a page reload is triggered using window.location.reload(). This ensures that any changes resulting from creating a new API key are reflected in the UI.
Moving on to the query, let’s update the KeysSection components to fetch and display all the existing API keys from the backend.
// filename: ./client/src/components/Keys/Keys.tsx
import Key, { KeyProps } from "./Key";
import { trpc } from "../../utils/trpc";

const KeysSection: React.FC = () => {
  ...
  const [keys, setKeys] = useState<KeyProps[]>([]);
  const { data: { data: resp } = {} } = trpc.apikeys.getAPIKeys.useQuery();

  useEffect(() => {
    if (resp?.apiKeys) {
      setKeys(resp.apiKeys as KeyProps[]);
    }
  }, [resp]);

  return (
    <>
      <div className="keys-section">
        ...
        {keys.map((key) => (
          <Key
            key={`${key.id}-${key.token}`}
            id={key.id}
            userId={key.userId}
            token={key.token}
            websiteUrl={key.websiteUrl}
            name={key.name}
            permissions={key.permissions}
            expiryDate={key.expiryDate}
            isActive={key.isActive}
            createdAt={key.createdAt}
          />
        ))}
      </div>
      ...
    </>
  );
};
The KeysSection component now includes a state variable keys to store the fetched API keys. The useQuery hook from trpc.apikeys.getAPIKeys is used to fetch the API keys data, and the response is de-structured to access the data property.
Within the useEffect hook, we check if the resp object contains apiKeys data. If API keys are present, they are set in the keys state variable for rendering in the UI. Each API key is then mapped to a Key component, passing the necessary props for display.

Advanced tRPC Features in Frontend Applications
Beyond traditional HTTP communication, web applications sometimes need to handle real-time data. tRPC provided subscriptions together with WebSocket for real-time data updates.
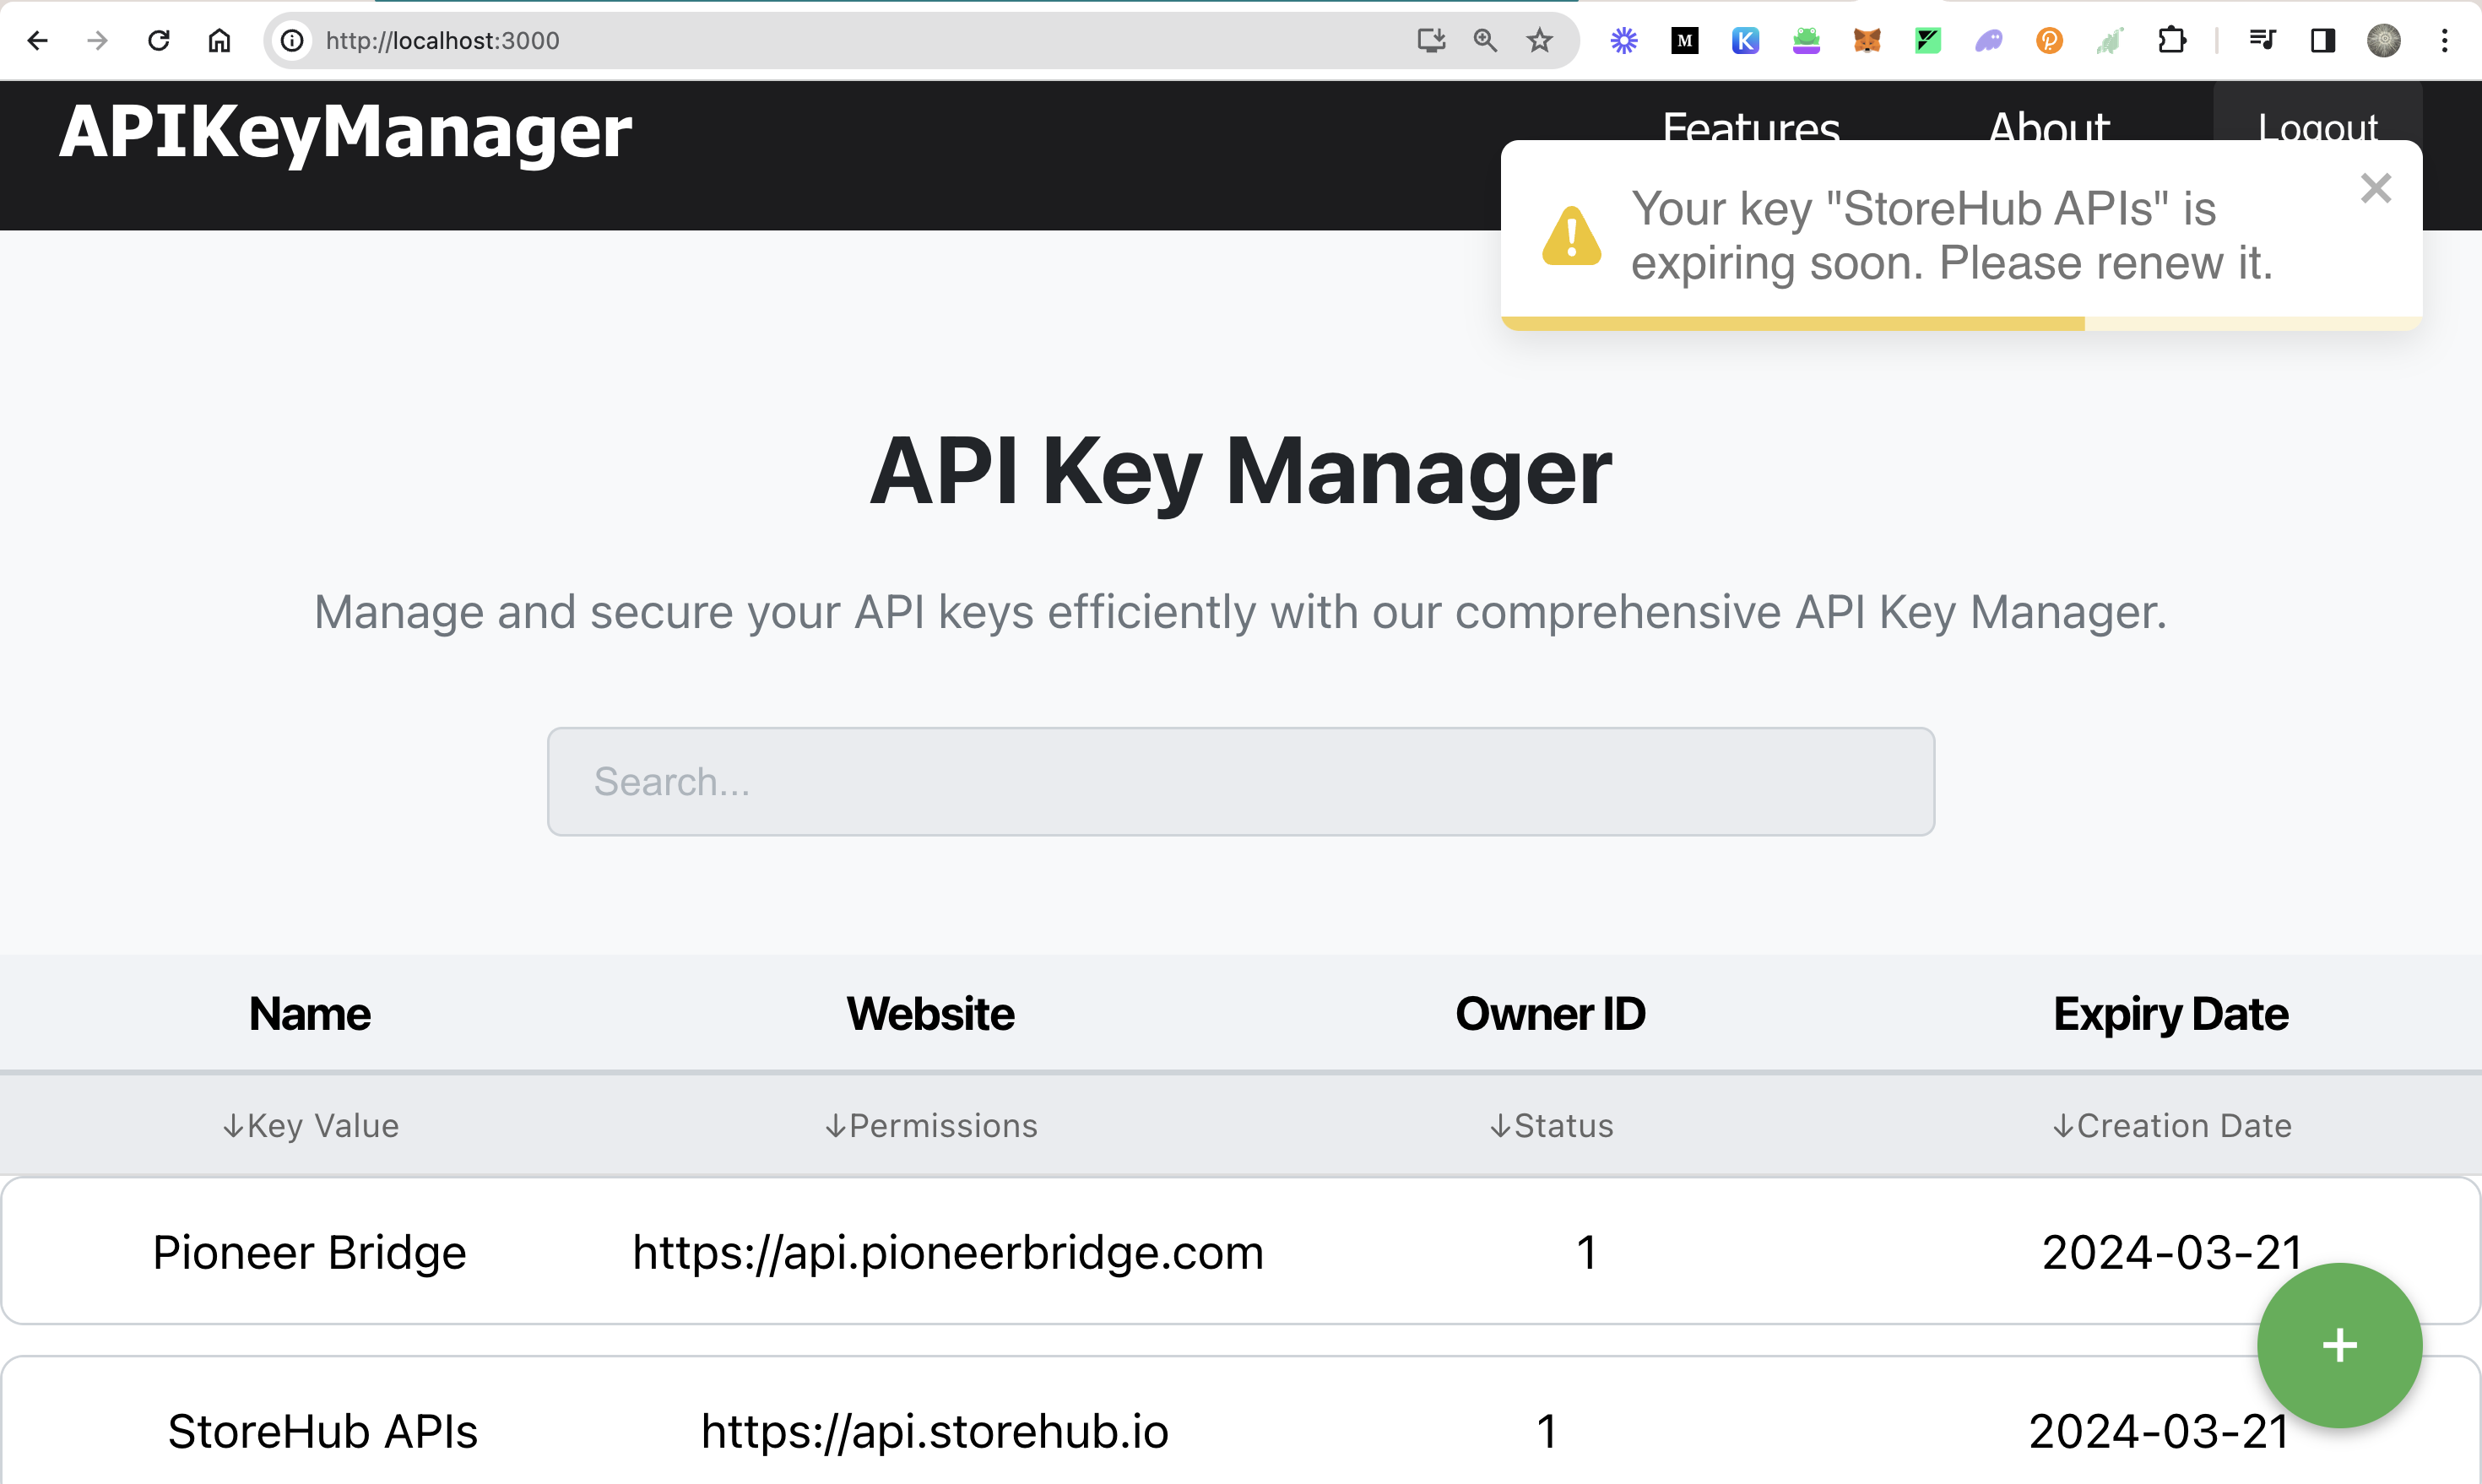
In this section, we’ll set up real-time alerts that notify users when their API keys are nearing expiry or have expired.
Let’s start by extending the existing client by utilizing the wsLink and createWSClient functions provided by tRPC:
// filename: ./client/src/components/App.tsx
...
import { createWSClient, httpBatchLink, splitLink, wsLink } from "@trpc/client";

function App() {
  ...
  const [trpcClient] = useState(() =>
    trpc.createClient({
      links: [
        // call subscriptions through websockets and the rest over http
        splitLink({
          condition(op) {
            return op.type === "subscription";
          },
          true: wsLink({
            client: createWSClient({
              url: "ws://localhost:6789/api",
            }),
          }),
          false: httpBatchLink({
            url: "http://localhost:6789/api",
            async headers() {
              return {
                authorization: `Bearer ${getAuthCookie()}`,
              };
            },
          }),
        }),
      ],
    }),
  );
  ...
}

export default App;
In the above snippet, the splitLink function is utilized to conditionally route operations based on their type. For subscription operations (op.type === "subscription"), the wsLink is used with a WebSocket client created by createWSClient, specifying the WebSocket server URL (ws://localhost:6789/api). This setup enables real-time communication for subscription-based operations.
For non-subscription operations, we’re still using httpBatchLink to handle HTTP requests.
Now that we have updated the client, let’s talk about the actual subscription implementation. Creating a custom React hook is one effective way to encapsulate the subscription logic and make it reusable across your application. This hook can manage the subscription and expose any relevant data or control mechanisms to components that use it.
// filename: ./client/src/hooks/KeyExpiryAlerts.tsx
import { useState } from "react";
import { trpc } from "../utils/trpc";

interface ExpiredKeysDetails {
  websiteUrl: string;
  name: string;
  id: number;
}

export const useKeyExpirySubscription = () => {
  const [keyExpiryData, setKeyExpiryData] = useState<ExpiredKeysDetails>({
    websiteUrl: "",
    name: "",
    id: 0,
  });

  trpc.apikeys.keyExpiryNotification.useSubscription(undefined, {
    onData(data) {
      setKeyExpiryData(data);
    },
    onError(error) {
      console.error("Subscription error:", error);
    },
  });

  return keyExpiryData;
};
Within the above hook, the trpc.apikeys.keyExpiryNotification.useSubscription function is called to establish the subscription. This function subscribes to key expiry notifications and provides callbacks for handling data and errors. When new data is received, the onData callback is triggered, updating the keyExpiryData state with the latest information. In case of any errors during the subscription, the onError callback logs the error to the console for debugging purposes.
Next, let’s implement the KeyExpiryAlerts component to fetch the key expiry data using the useKeyExpirySubscription hook, which internally manages the subscription to receive notifications about expired keys.
// filename: ./client/src/components/Alert/KeyExpiryAlerts.tsx
import { useEffect } from "react";
import { useKeyExpirySubscription } from "../../hooks/useKeyExpirySubscription";
import { toast } from "react-toastify";

const KeyExpiryAlerts = () => {
  const keyExpiryData = useKeyExpirySubscription();

  useEffect(() => {
    if (keyExpiryData.name !== "") {
      toast.warn(
        `Your key "${keyExpiryData.name}" is expiring soon. Please renew it.`,
      );
    }
  }, [keyExpiryData]);

  return null; // This component will not render anything itself
};

export default KeyExpiryAlerts;
Within the useEffect hook, the component listens for changes in the keyExpiryData state. When new key expiry data is received, a toast notification is triggered using toast.warn from react-toastify, displaying a warning message to inform the user that their key named ${keyExpiryData.name} is expiring soon and advising them to renew it.

Security and Authentication
Every project must implement a secure process to weed out unauthorized users from accessing sensitive data. And API keys are sensitive data that needs protecting, and as a result, we will explore setting up a simple authentication process for our project. This section aims to show you how security and authentication are handled across the tRPC application.
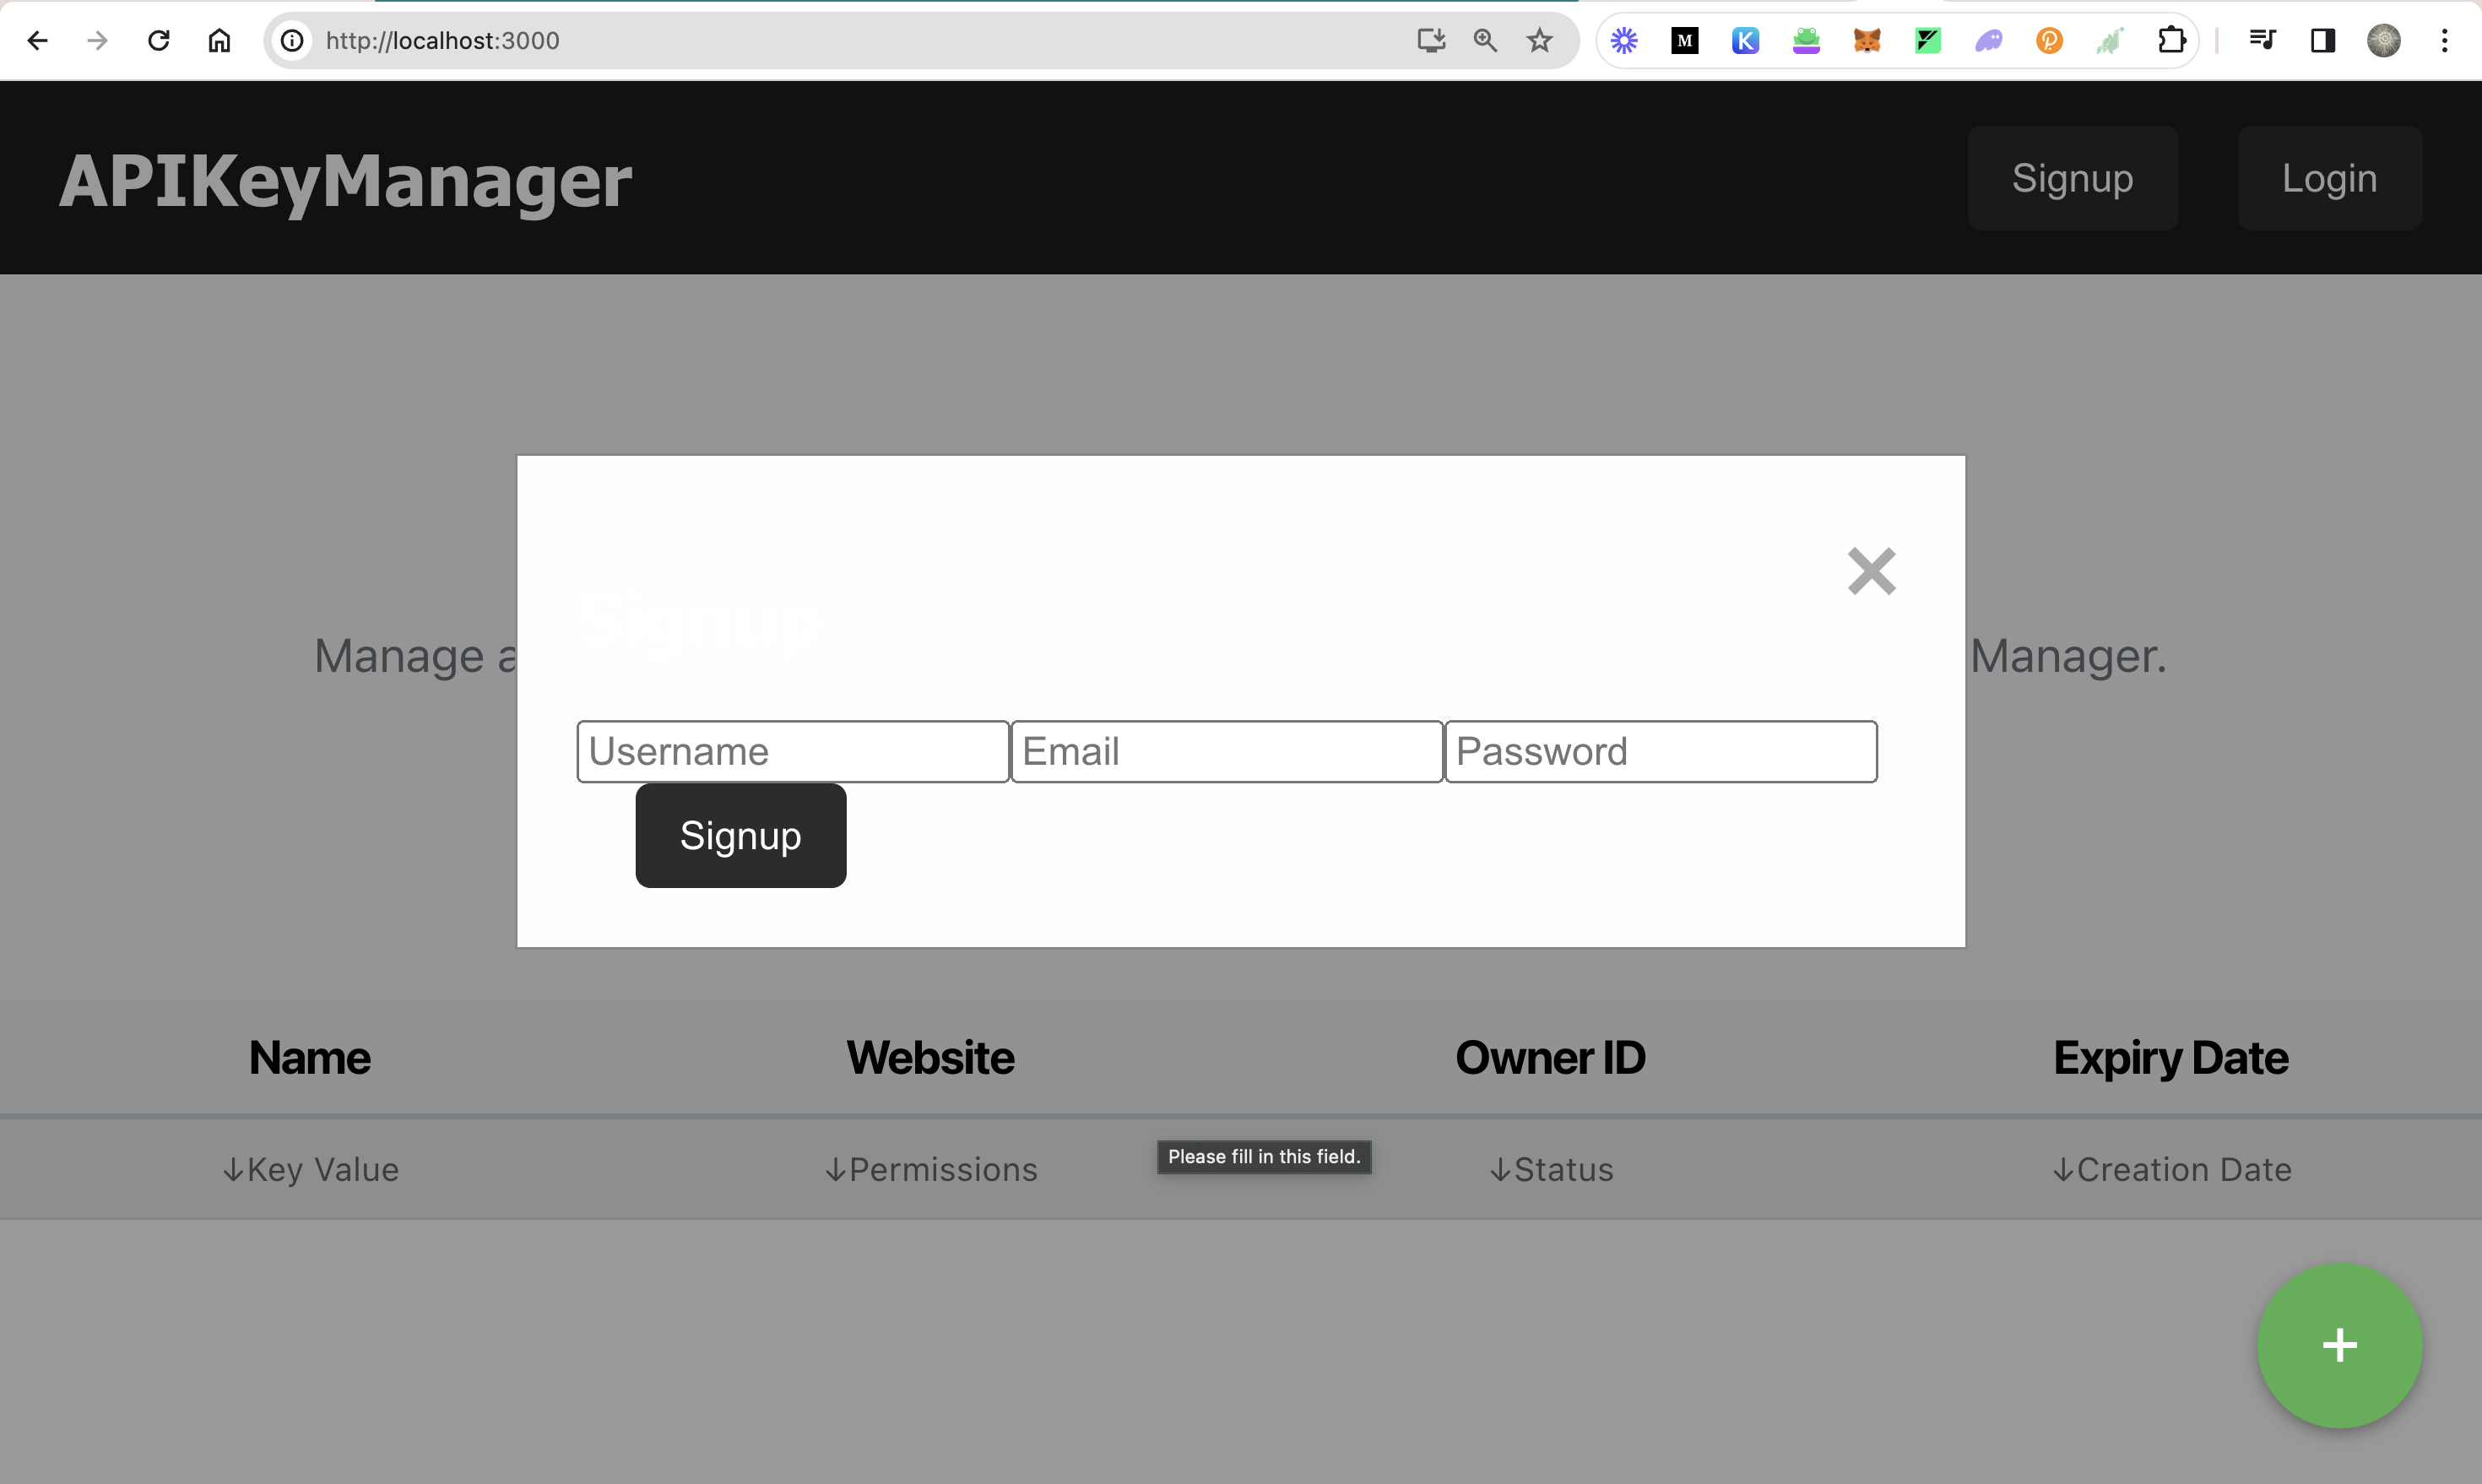
There exist two components that we’ll extend here, namely SignupModal and LoginModal components. Update the components as below:
// filename: ./client/src/components/Modal/Modals.tsx
const SignupModal: React.FC<SignupModalProps> = ({ onClose }) => {
  ...
  const mutation = trpc.users.create.useMutation();

  const handleSubmit = async (event: React.FormEvent<HTMLFormElement>) => {
    event.preventDefault();
    mutation.mutate({
      username: formData.username,
      email: formData.email,
      password: formData.password,
      confirmPassword: formData.password,
    });
    onClose(); // Close the modal upon submission
  };

  return <div className="sp_modal">{/* elements remain the same.*/}</div>;
};

const LoginModal: React.FC<SignupModalProps> = ({ onClose }) => {
  ...
  const mutation = trpc.auth.login.useMutation();

  const handleSubmit = async (event: React.FormEvent<HTMLFormElement>) => {
    event.preventDefault();
    mutation.mutate({
      username: formData.username,
      password: formData.password,
    });
  };

  useEffect(() => {
    if (mutation.isSuccess) {
      const accessToken = mutation.data?.data.accessToken;
      if (accessToken) {
        saveAuthTokenToCookie({
          token: accessToken.token,
          expiryTime: accessToken.expiryTime,
        });
      }
      onClose(); // Close the modal upon successful submission
    }
  }, [mutation.isSuccess, mutation.data, onClose]);

  return <div className="sp_modal">{/* elements remain the same.*/}</div>;
};
In the updated SignupModal and LoginModal components, we have integrated mutations for user signup and login functionalities. The SignupModal component utilizes the trpc.users.create.useMutation() hook to handle user registration. Similarly, the LoginModal component uses the trpc.auth.login.useMutation() hook for user authentication. The useEffect hook in the LoginModal component listens for mutation success, extracts the access token, saves it to a cookie, and closes the modal to provide a seamless user experience.

This shows that setting up security and authentication in tRPC isn’t different from the usual method used in other applications. With this in mind, incorporating role-based access control (RBAC) can enable granular control over user permissions, allowing administrators to define roles and access levels for different user groups. Regular security audits, vulnerability assessments, and implementing best practices like input validation and parameterized queries can help mitigate security risks and ensure your project remains resilient against security threats.
Error Handling and Debugging
Enhancing your development experience with type safety and ease of use also requires careful consideration of error handling and debugging strategies. Here’s how you can approach these aspects to ensure a robust and maintainable codebase for your project.
Use tRPC’s Error Types
tRPC errors can be broadly categorized into client errors (e.g., validation errors) and server errors (e.g., database failures). Leverage the built-in error handling to differentiate these in your frontend logic:
import { TRPCError } from "@trpc/server";

try {
  // Attempt to invoke a tRPC procedure
} catch (error) {
  if (error instanceof TRPCError) {
    console.error(`tRPC error: ${error.message}`);
    // Handle specific error codes
    switch (error.code) {
      case "NOT_FOUND":
        // Specific logic for not found errors
        break;
      case "FORBIDDEN":
        // Authorization error logic
        break;
      // Handle other cases as needed
    }
  } else {
    // Non-tRPC errors
    console.error(error);
  }
}
Using the above snippet, we can set up global error handlers within our React application to catch and respond to errors in a centralized manner. This is particularly useful for displaying error notifications or redirecting users based on specific error conditions. Learn more about tRPC error codes on their docs.
Debugging tRPC Applications
Debugging tRPC interactions requires a systematic approach to trace requests from the frontend to the backend and understand where failures may occur.
- Use tRPC’s React Query Devtools:
As we’re using
@tanstack/react-queryin our frontend, integrating React Query Devtools can provide insight into the state of your queries and mutations, including loading states, data, and errors. This can be invaluable for understanding the behavior of your application and diagnosing issues.
import { ReactQueryDevtools } from "@tanstack/react-query-devtools";

function App() {
  return (
    <>
      {/* components */}
      <ReactQueryDevtools initialIsOpen={false} />
    </>
  );
}- Frontend Tracing and Observability: For modern web applications, understanding client-side errors—integrating frontend-specific tools for error tracking, performance analysis, and observability—is essential for a comprehensive approach to debugging and error handling in applications that use tRPC or any other API interactions. Incorporating tools like OpenReplay, Rollbar, or Sentry can significantly enhance your ability to collect, monitor, and analyze errors and performance issues directly from your frontend application.
Conclusion
Throughout this comprehensive guide on using tRPC for frontend development with React, we explored the integration of tRPC into React applications, emphasizing its benefits in simplifying API communication and enhancing developer productivity. As we conclude this guide, it is essential to recap the key points covered, including the importance of structuring queries and mutations, optimizing real-time data streaming with subscriptions, and handling errors effectively for a robust frontend application. By emphasizing best practices and practical implementations, this article aims to equip you with the knowledge and skills to leverage tRPC effectively in your React projects. I encourage you to experiment, explore, and implement more features utilizing tRPC in their frontend applications, unlocking its full potential for streamlined API interactions and enhanced user experiences.
The finished project is available on GitHub at https://github.com/Ikeh-Akinyemi/APIKeyManager.


